
Free on-site gate assessment - hinges, posts, and your LiftMaster or Nice gate operator checked before anything is quoted
The assessment is free and the quote is the invoice.
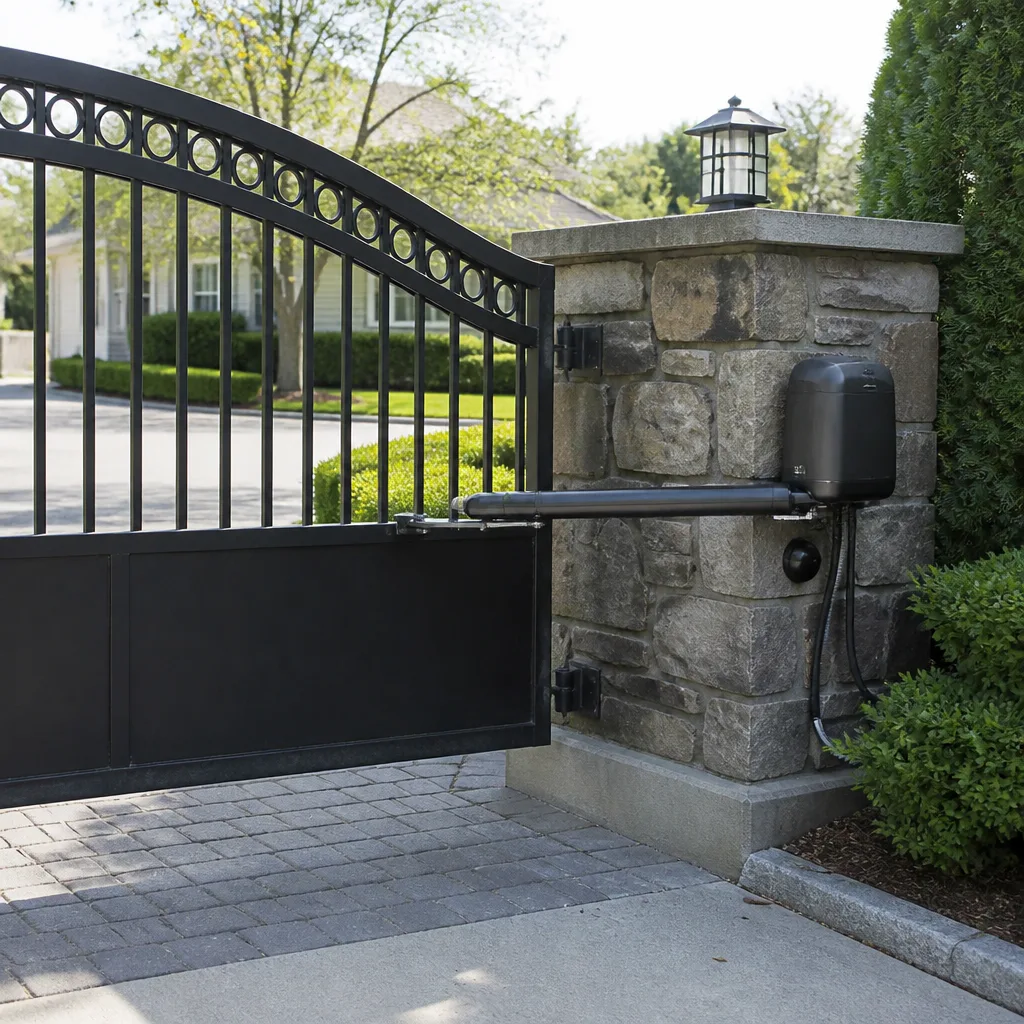
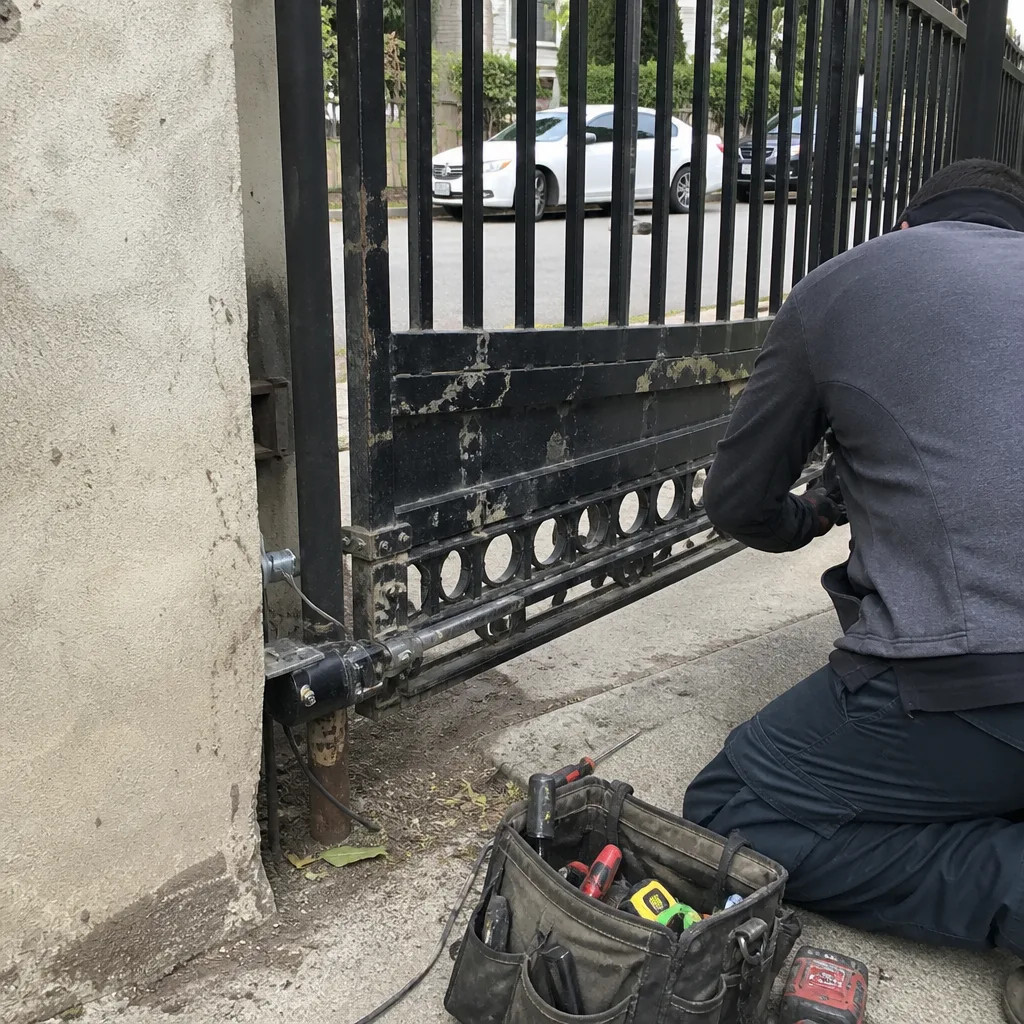 Before
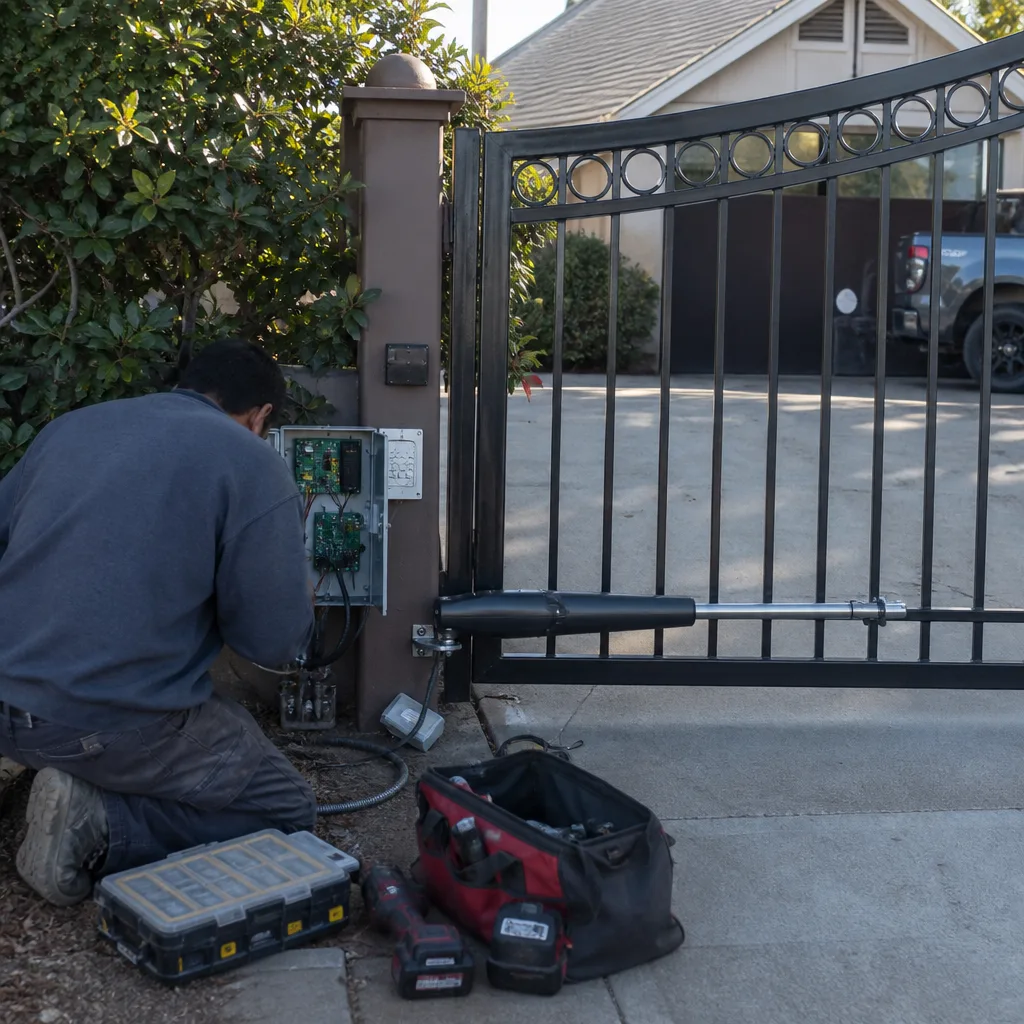 After
After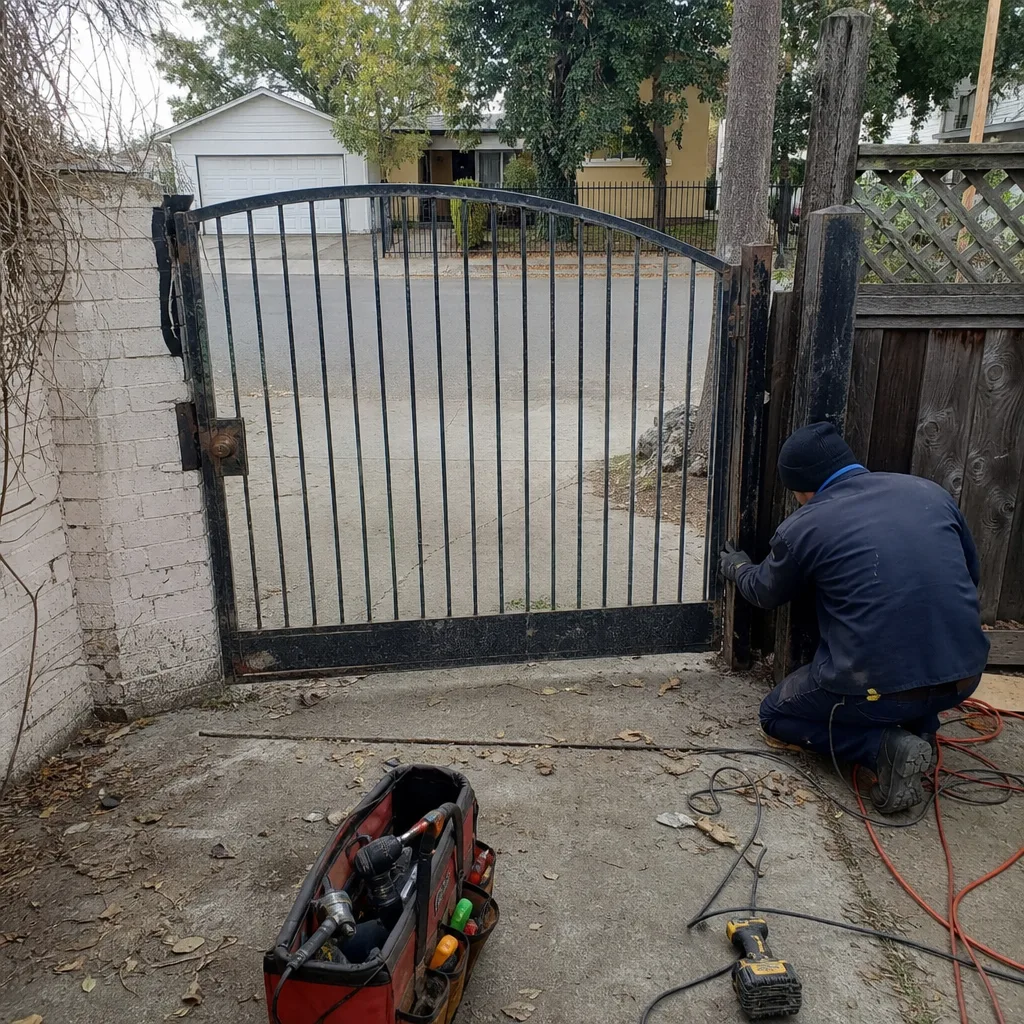 Before
 After
After Before
 After
AfterDoorKing Keypad & Intercom Repair: The Oakland Owner’s Guide
We stock and install DoorKing-compatible keypad and intercom repairs in Oakland, with most jobs running between $280 and $650 installed depending on whether it’s a standalone keypad swap or a full intercom station with handset wiring. Same-day service is available when the part is on our truck, which it usually is for the 1800, 1802, and 1803 series that dominate East Bay residential installations. Most Oakland homeowners realize their DoorKing keypad or intercom has failed when the gate stops responding to codes entirely, or when visitors press the call button and hear static, no ring, or nothing at all.
Which DoorKing Models This Applies To
DoorKing has manufactured access hardware since 1948, and the product lines we see most in Oakland fall into three groups: the 1800 series surface-mount keypads (1802 for single-family, 1803 for multi-tenant), the 1830 series telephone entry systems, and the newer 1833/1834 cellular intercom stations. The 1802 and 1803 look nearly identical from the front, but the 1803 carries an additional circuit board for apartment directory programming. Check the label inside the hinged cover, lower left corner, for the model stamp and manufacture date. Units made before 2012 used a 12-volt transformer; post-2012 models switched to 24-volt, and mixing the two during replacement will fry the board within weeks.
We carry OEM DoorKing parts and select aftermarket equivalents from Security Brands and EMX. For a keypad-only failure on an 1802, the OEM 1802-080 membrane is our first choice. For intercom handsets with cracked housings but working boards, we sometimes source rebuilt 1830 handsets from a supplier in Hayward, tested before they reach our truck. We don’t steer toward replacement of a working gate operator just because the access point failed. Adrian Vance put it plainly to a Rockridge customer last month: “Tell me what it’s doing wrong, and I’ll tell you exactly what it needs.” That gate needed a $45 weather seal, not a new intercom.
Signs Your DoorKing Keypad & Intercom Repair Is Failing
- Keypad buttons require multiple presses or feel mushy. The silicone membrane beneath the buttons degrades with UV exposure and Oakland’s marine layer moisture. We see this most on west-facing gates in the Oakland Hills where afternoon sun bakes the housing, then fog rolls in overnight. The membrane conductive traces crack, and eventually the circuit board stops registering input entirely.
- Intercom handset produces static, cross-talk, or no audio. The twisted-pair wiring running from gate to house develops ground faults over time, especially in older Oakland properties with original conduit. The 1830 series uses a two-wire loop; if one conductor grounds out against the gate frame, you’ll hear hum or nearby radio interference before total failure.
- Gate opens with any code, or with no code entered. The keypad’s relay output is stuck closed, usually from water intrusion at the terminal block. We’ve found this in the flatlands near the estuary where winter storm runoff pools at gate posts. The board isn’t fried yet, but the output transistor is latched on and the gate is unsecured.
- Display is dim, flickering, or shows garbled characters. The 1833 and 1834 LCD backlights draw constant power; after four to six years the inverter fails. In Oakland’s temperature swings, from 40-degree January mornings to 85-degree September afternoons, the solder joints on these inverters fatigue faster than the manufacturer rates them for inland climates.
- Visitor calls don’t ring through to the house phone. The 1830 series dials out on analog phone lines, and many Oakland homes have switched to VoIP or fiber without updating the intercom. The voltage drop on digital phone service won’t trigger the relay that connects the call. We test line voltage at the gate before quoting any intercom work.
 Before
 After
AfterReplacement Cost & What’s Included
| Service | Typical Range | What’s Included |
|---|---|---|
| 1802/1803 keypad membrane replacement | $280 - $380 | OEM membrane, housing seal, labor, programmed with your existing codes |
| Full 1802 or 1803 keypad assembly swap | $420 - $550 | Complete unit, backbox if corroded, wiring inspection, code programming |
| 1830 intercom handset replacement | $340 - $480 | Handset, coiled cord, wiring test to gate, volume and ring adjustment |
| 1833/1834 cellular intercom station | $520 - $650 | Station, SIM activation, app setup for homeowner, one year cellular plan guidance |
| Wiring fault diagnosis and repair | $180 - $320 | Line tracing, fault location, splice or pull new conductor, documentation |
The range depends on three factors: whether the backbox is rusted out and needs replacement, whether the existing wiring is intact or needs repair, and whether your system uses the older 12-volt or newer 24-volt configuration. We quote the full installed price in writing before any work starts, under Haven Standard Clause 1. The price you approve is the price on the invoice. Our 365-Day Done Right Promise covers all keypad and intercom work; if the membrane delaminates or the handset fails within that year, we replace it at no charge.
DIY or Call Us?
There’s safe checking, and then there’s work that belongs to someone who knows where the 24 volts becomes 120.
An owner can verify three things without risk: whether the keypad has power at the terminal block (look for the small LED inside the housing), whether the circuit breaker labeled “gate” or “intercom” has tripped, and whether the phone line at the house still carries dial tone. Document what you find; it saves us ten minutes of diagnosis.
What goes wrong with DIY: the 1803 series stores its apartment directory in volatile memory; disconnect power without a backup battery and you lose every tenant code. The 1830 telephone entry interfaces with house voltage at the base station, and we’ve seen homeowners bridge the wrong terminals and trip the main breaker. The cellular intercoms require APN programming that DoorKing doesn’t publish in the consumer manual. We carry the configuration sheets in the truck, updated quarterly.
If your keypad is completely dead or your intercom produces no audio, call (628) 270-2709. A live person answers, and we’ll dispatch a technician with the right part already on the van.
FAQs
Most last eight to twelve years, though we’ve replaced 1802 units in the Oakland Hills at six years due to UV degradation, and seen flatland units last fifteen with proper drainage. The marine layer accelerates corrosion at the terminal block; a $12 gasket replacement at year five often doubles the lifespan. Call (628) 270-2709 and we’ll inspect the seal at no charge during any other gate service.
Sometimes. A failed membrane on an 1802 can be replaced separately from the entire unit, saving roughly $140. A cracked 1830 handset housing can be swapped while keeping the original circuit board. But if the main processor is damaged by water or voltage spike, repair exceeds replacement cost and we recommend the new unit. We test the board before quoting either path.
Most replacements run ninety minutes to two hours, including code programming and testing. Wiring faults add time; we once traced a broken conductor through 80 feet of conduit in the Oakland Hills and the job stretched to four hours. We quote time estimates in writing alongside the price, so you’re not watching the clock.
We carry 1802 and 1803 membranes, full keypad assemblies, 1830 handsets, and common backbox hardware. The 1833 and 1834 cellular stations we order overnight when needed, though we keep one demo unit for same-day temporary replacement if security is critical. We also stock parts for LiftMaster, Mighty Mule, and Ghost Controls access hardware, so multi-brand properties get one technician with one invoice.
Written by Adrian Vance, Owner, Vance Gate Repair Oakland at Vance Gate Repair Oakland, serving Oakland and nearby areas.