
Last updated September 22, 2026
Free on-site gate assessment - hinges, posts, and your LiftMaster or Nice gate operator checked before anything is quoted
The assessment is free and the quote is the invoice.

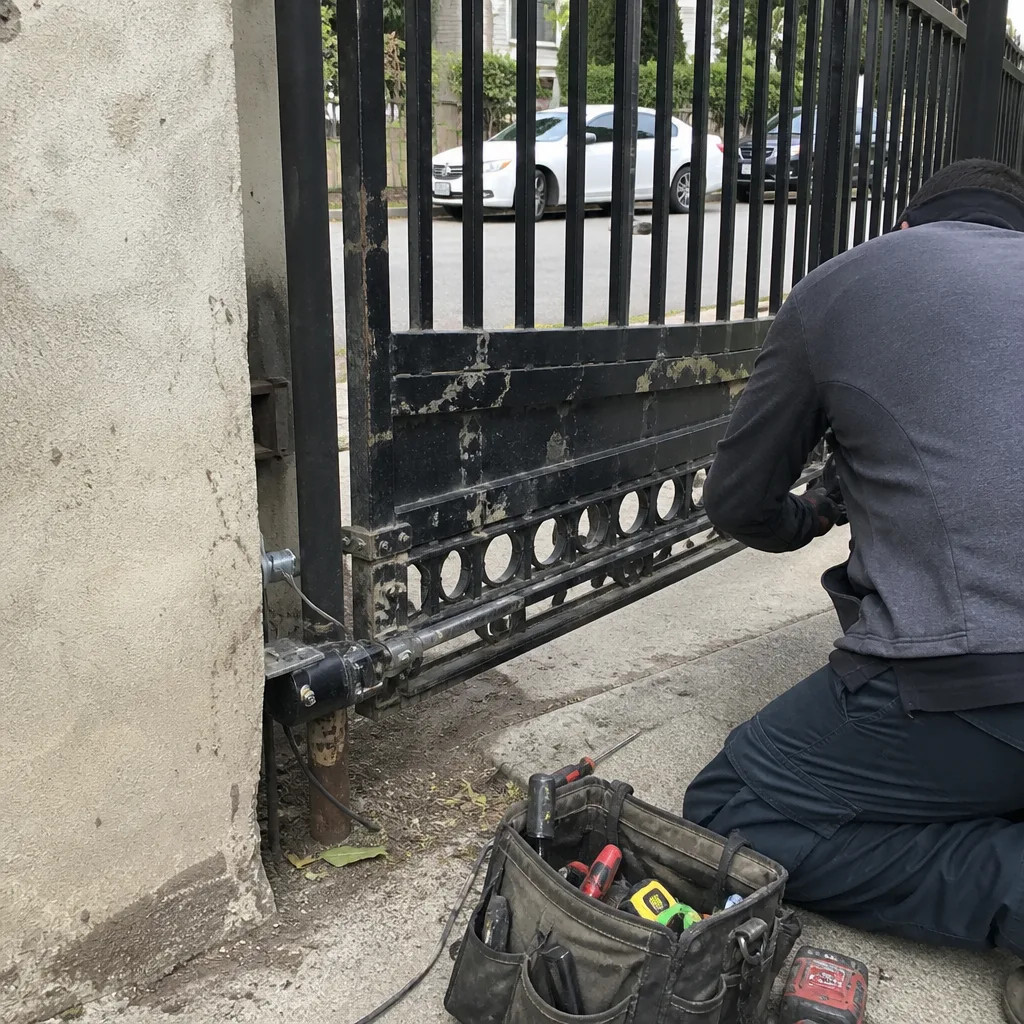 Before
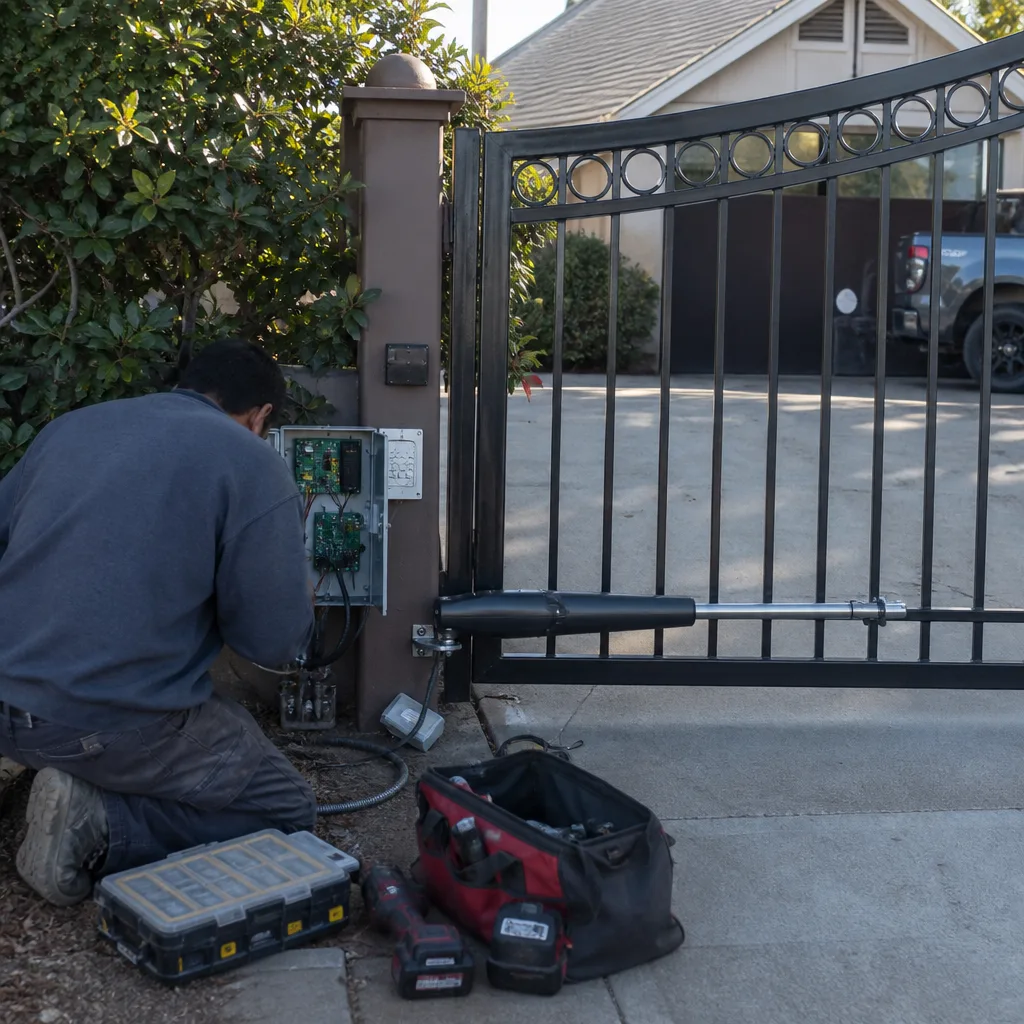 After
After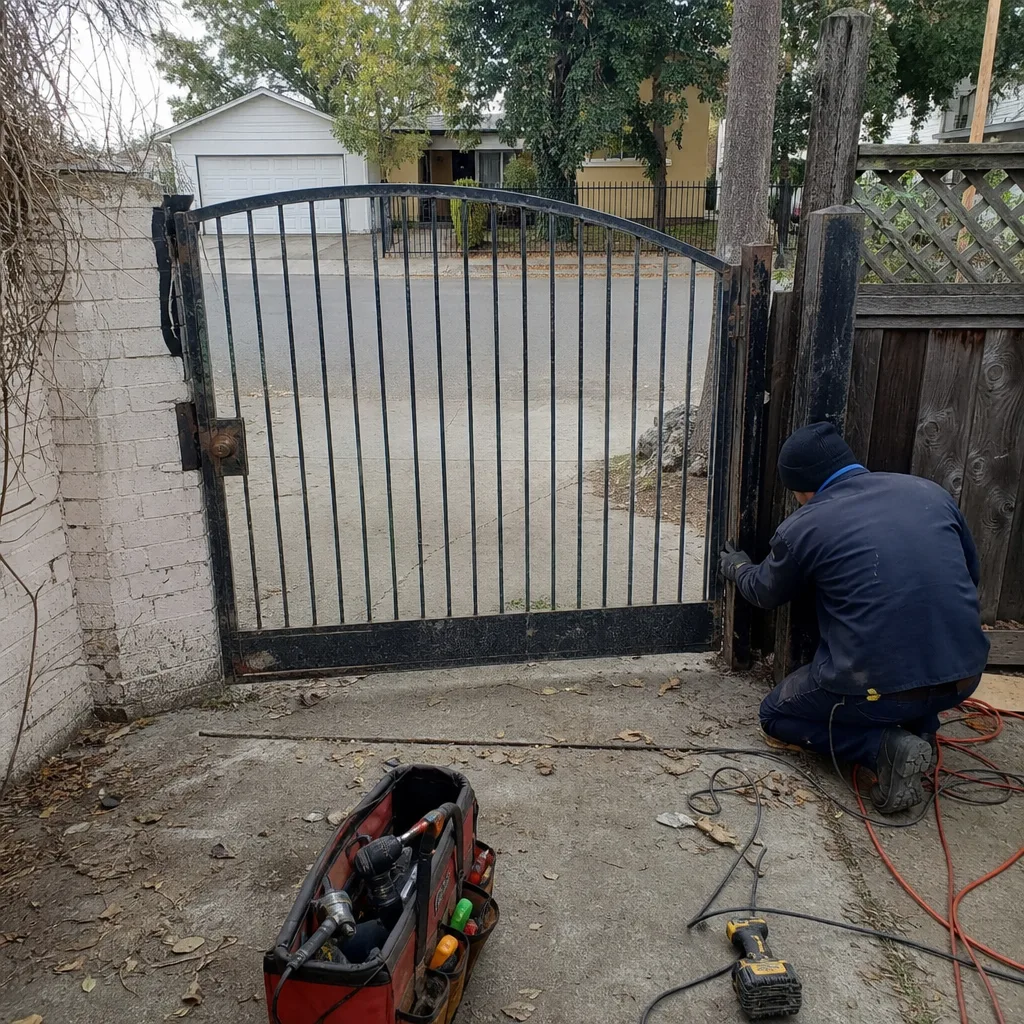 Before
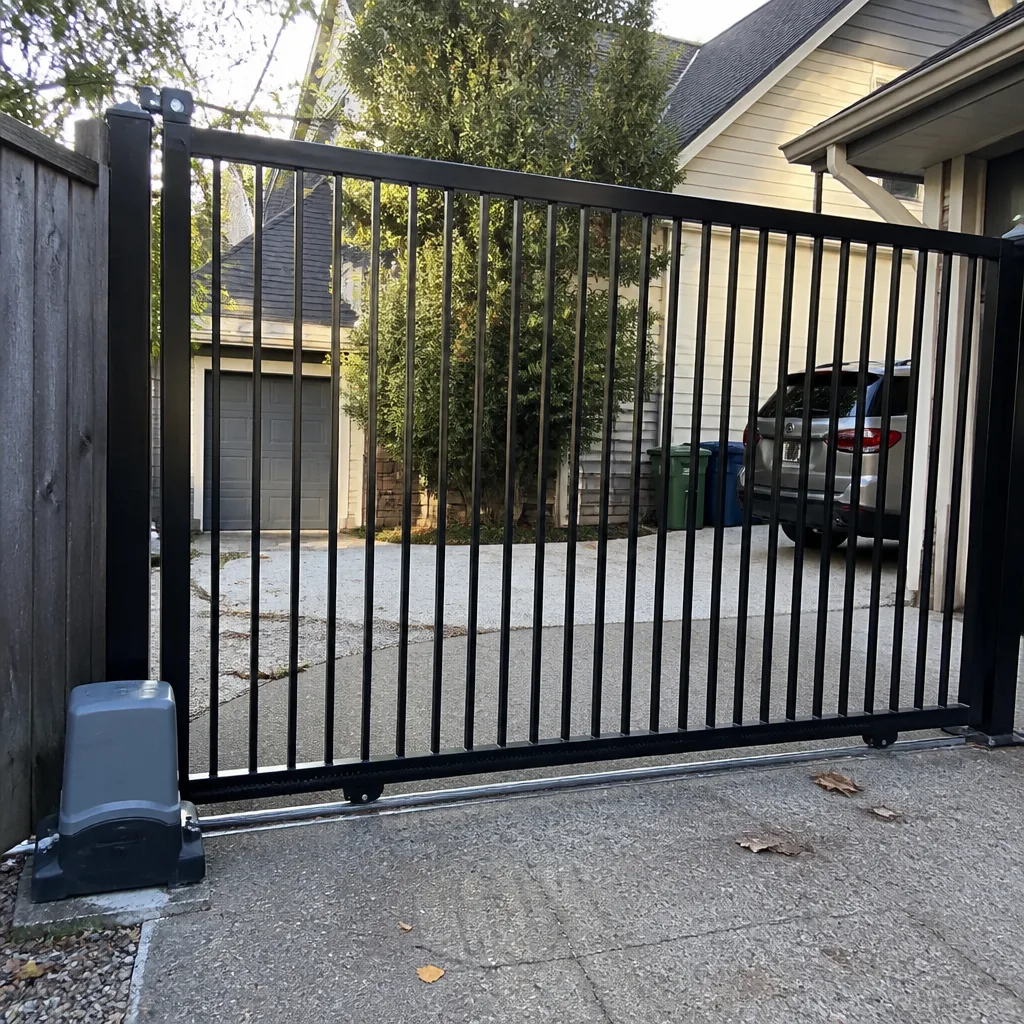 After
After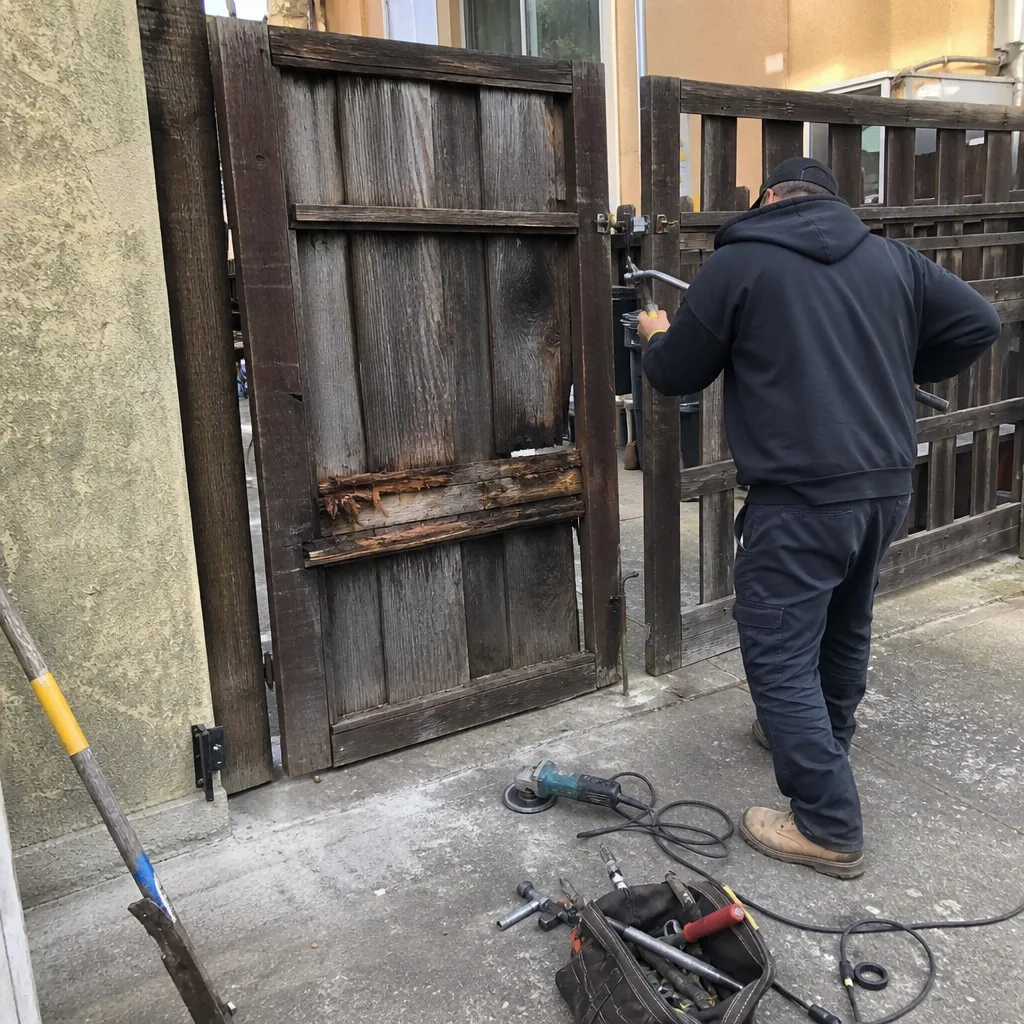 Before
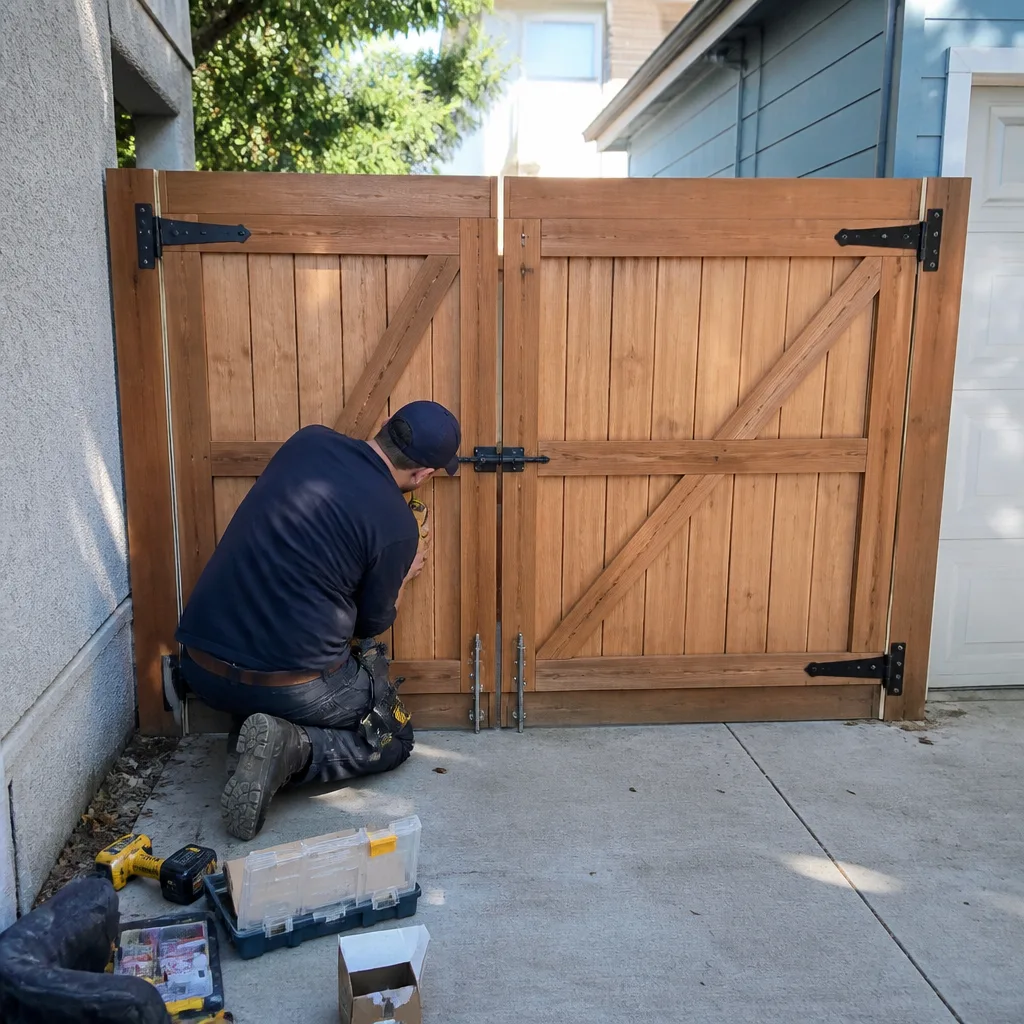 After
AfterDIY vs Professional Gate Repair: The Oakland Homeowner’s Decision Guide
California’s UL 325 standard requires that any automated gate operator installation or replacement meet specific entrapment-protection criteria - a requirement that applies whether the installer is a licensed contractor or the homeowner. DIY operator replacement that doesn’t meet UL 325 is an unpermitted installation on a system designed to move hundreds of pounds. In Oakland, where hillside properties in Montclair and Piedmont Pines often rely on steep-driveway gates for both security and fire-access compliance, a poorly executed repair can block emergency vehicle entry or create liability that surfaces during a pre-sale inspection. This guide breaks down which gate repairs are genuinely reasonable to handle yourself, which ones carry hidden costs most more guides & resources don’t mention, and how to make the decision based on what’s actually at stake.
Quick Answer
Mechanical adjustments and basic maintenance - lubricating hinges, clearing photo-eyes, tightening loose hardware - are reasonable DIY work for most Oakland homeowners. Anything involving the electrical system, gate post structure, or UL 325 safety components (the two required independent entrapment-protection devices) should be handled by a professional, both for personal liability reasons and because California Civil Code requires disclosure of unpermitted electrical work when you sell. The break-even point for professional repair typically arrives faster than most homeowners calculate, once diagnostic time, part-sourcing errors, and the cost of repeat visits are factored in.
Table of Contents
- What DIY Gate Repair Actually Looks Like
- UL 325 Explained: The Safety Standard DIY Guides Skip
- Electrical Work, Inspections, and Oakland Seller Disclosure
- The Documentation Gap: Why No Record Costs You Later
- The Real Cost of DIY: A Break-Even Analysis
- When Professionals Actually Save You Money
- Oakland-Specific Factors: Climate, Terrain, and Code
- Common Mistakes to Avoid
- When to Call a Professional
- Frequently Asked Questions
- The Bottom Line
 Before
 After
AfterWhat DIY Gate Repair Actually Looks Like
Most gate problems that prompt a service call fall into one of two categories: maintenance that was deferred until something broke, or a single component that failed and took down the whole system. The first category is where DIY belongs. The second is where homeowners often overestimate what a YouTube video can teach them in an afternoon.
Repairs That Are Genuinely DIY-Appropriate
These tasks require basic hand tools, no electrical work, and carry minimal safety risk:
- Lubricating hinges and rollers. Use a lithium-based grease on steel hinges; avoid WD-40, which attracts dust in Oakland’s dry summer conditions and turns into grinding paste by October. Work the gate through its full range of motion after application.
- Clearing photo-eye obstructions. The photo-eye (the infrared beam that stops the gate if something crosses the path) gets blocked by spider webs, leaf debris, or the fog that rolls in from the bay through the Caldecott Tunnel on spring mornings. Clean the lens with a dry cloth; realign by loosening the bracket, pointing both units directly at each other until the indicator light steadies, then retightening.
- Replacing remote batteries and reprogramming remotes. Most LiftMaster, DoorKing, and Elite operators use standard coin-cell or AA batteries. The programming sequence is in your owner’s manual and typically involves pressing a learn button on the motor housing.
- Tightening loose hardware. Gate brackets, arm mounts, and chain tension bolts loosen over time from vibration. Check with a wrench set; do not overtighten, as stripped threads in an aluminum arm bracket mean a full replacement.
- Manual release operation. Every automated gate has a manual release (usually a key or lever) for power outages. Test yours quarterly; if it binds, the release cable may need adjustment, which is still DIY territory on most swing gates.
Where DIY Gets Complicated Fast
These tasks sit in a gray zone. Some experienced homeowners handle them; most should not:
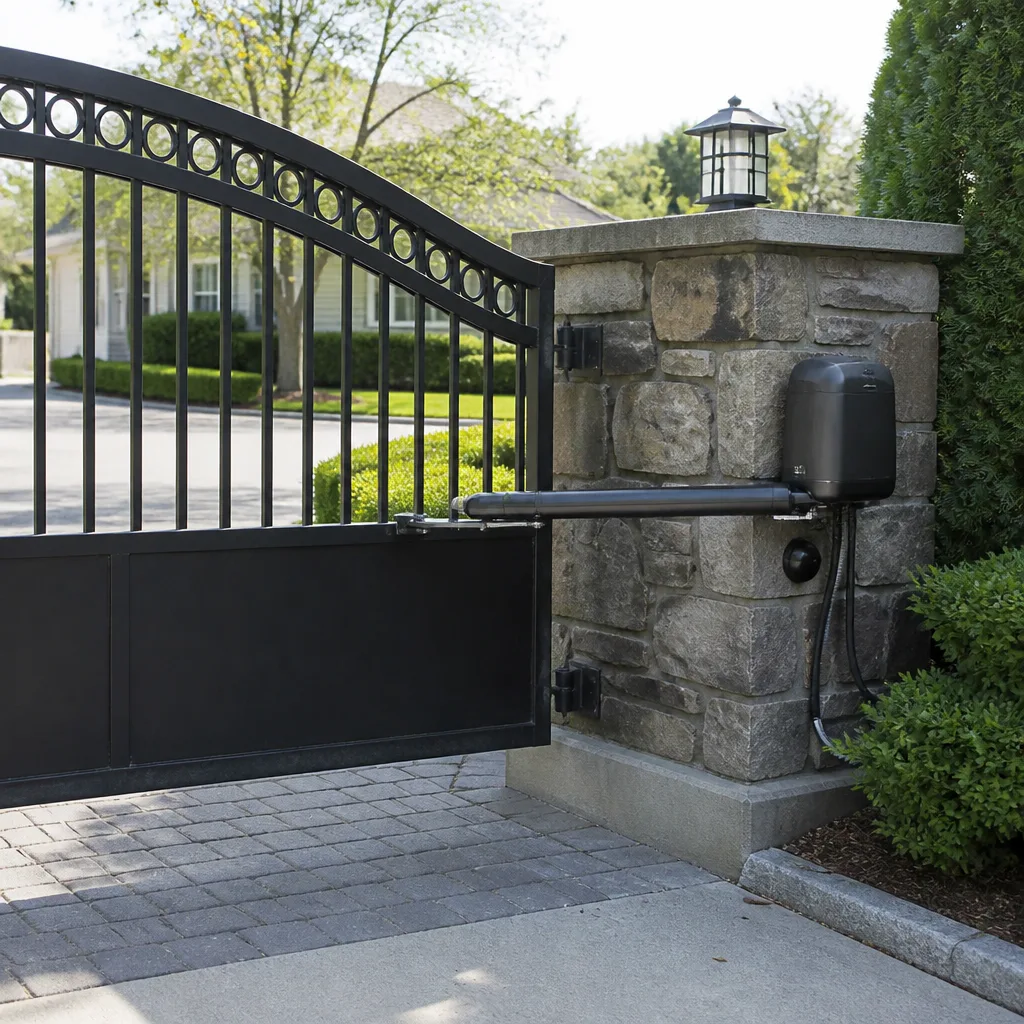
- Replacing a gate motor arm. The mechanical swap is straightforward on a Ghost Controls or Mighty Mule residential unit. But the force and limit settings must be recalibrated to the gate’s actual weight and travel, and those settings determine whether the gate stops properly on contact. Incorrect calibration is how gates crush objects or fail to reverse.
- Adjusting chain or belt tension. Too loose and the gate slips, jerks, or loses position. Too tight and you overload the motor bearings. The spec is usually in the manual; without a tension gauge, most homeowners guess.
- Replacing a loop detector. The saw-cut loop in your driveway (the wire that tells the gate a vehicle is present) requires cutting asphalt, splicing with waterproof connectors, and tuning the detector board. Possible, but one bad splice means starting over.
We’ve documented over 22,000 gate repairs since 2014, and the pattern is consistent: the DIY calls we get are rarely for the initial problem. They’re for what happened when the repair didn’t quite work - a motor that runs but doesn’t stop, a gate that reverses randomly, a new arm that tore its bracket off the post because the mounting bolt pattern was wrong for the gate weight.
UL 325 Explained: The Safety Standard DIY Guides Skip
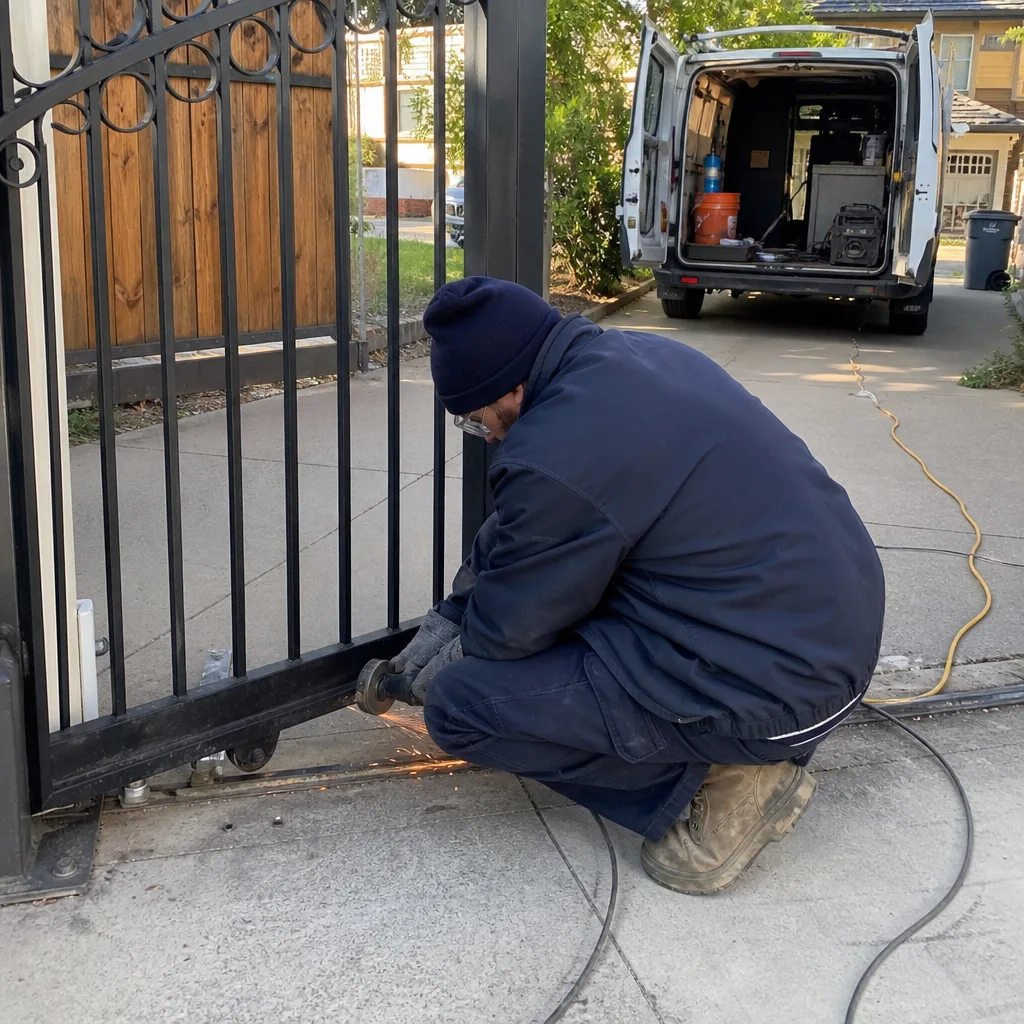
UL 325 is the Underwriters Laboratories standard for gate, door, and louvre operators. In California, it’s incorporated by reference into the California Building Code and enforced at the local level. For Oakland homeowners, this means any automated gate operator installation or replacement must include two independent safety devices to prevent entrapment.
The Two Required Safety Devices
Every automated gate must have:
- A primary entrapment-protection device. This is typically the photo-eye pair (infrared beam) or a safety edge (a contact-sensitive rubber strip on the leading edge of the gate). It stops or reverses the gate when triggered.
- A secondary, independent device of a different type. If your primary is photo-eyes, your secondary must be something else - usually either a safety edge, a monitored loop detector with presence function, or a contact sensor. Two sets of photo-eyes do not satisfy UL 325.
The “independent” and “different type” requirements exist because any single technology can fail. Photo-eyes misalign. Safety edges get torn off by landscape crews. A loop detector can lose sensitivity if the wire corrodes (common in Oakland’s clay-heavy soils in the hills, where groundwater chemistry accelerates copper degradation).
What This Means for DIY Operator Replacement
If you replace your own gate operator - a Mighty Mule from a big-box store, for instance - and connect only the photo-eyes that were already there, you may have a functioning gate that does not meet UL 325. The unit will power up, the remote will work, and you might not discover the problem until:
- A child or pet is injured and your homeowner’s insurer investigates whether the installation was code-compliant
- A pre-sale inspection flags the gate as non-compliant, forcing a rushed professional repair with closing-date pressure
- The city requires documentation of UL 325 compliance for a permit related to another project
Professional installers in Oakland are required to certify compliance. DIY installations have no such certification, and the liability rests entirely with the homeowner. We’ve been called to homes in Rockridge and Glenview where a DIY operator replacement from three years earlier became a five-figure problem at escrow because the buyer’s inspector found a single safety device where two were required.
Electrical Work, Inspections, and Oakland Seller Disclosure
California Civil Code Section 1102 requires sellers to disclose material facts affecting the value or desirability of residential property. This includes unpermitted work and known code violations. An automated gate operator is a permanently installed electrical appliance; if it was replaced without permit or does not meet UL 325, that condition is arguably disclosable.
How DIY Electrical Work Appears on Inspection
A competent home inspector in Oakland checks for:
- Permit history for electrical work visible on the property
- UL listing labels on installed operators (absent on some gray-market or outdated units)
- Proper safety-device configuration (one photo-eye pair alone is a red flag)
- Conduit and wire gauge appropriate for the run length and load
- Grounding integrity, especially critical in Oakland’s hills where lightning risk is elevated
Inspectors in the Oakland Hills and Montclair neighborhoods are particularly attentive to fire-access and safety systems given the 1991 Tunnel Fire history. A gate that fails to open automatically for emergency vehicles, or that lacks battery backup for power-outage conditions, draws scrutiny.
The Disclosure Calculation
If you performed or inherited a DIY gate repair and sell the property without disclosing it, you expose yourself to post-sale liability. If you do disclose it, you may face a buyer credit request or repair demand. The cost of professional documentation after the fact - having a technician inspect, test, and certify the system - typically runs higher than the original repair would have, because the technician must diagnose someone else’s work without the benefit of a documented baseline.
Under Vance Gate Repair Oakland home, our Haven Standard includes photographic evidence and written records on every visit specifically so that future technicians, inspectors, and buyers have a clear chain of documentation. A DIY repair produces no such record.
The Documentation Gap: Why No Record Costs You Later
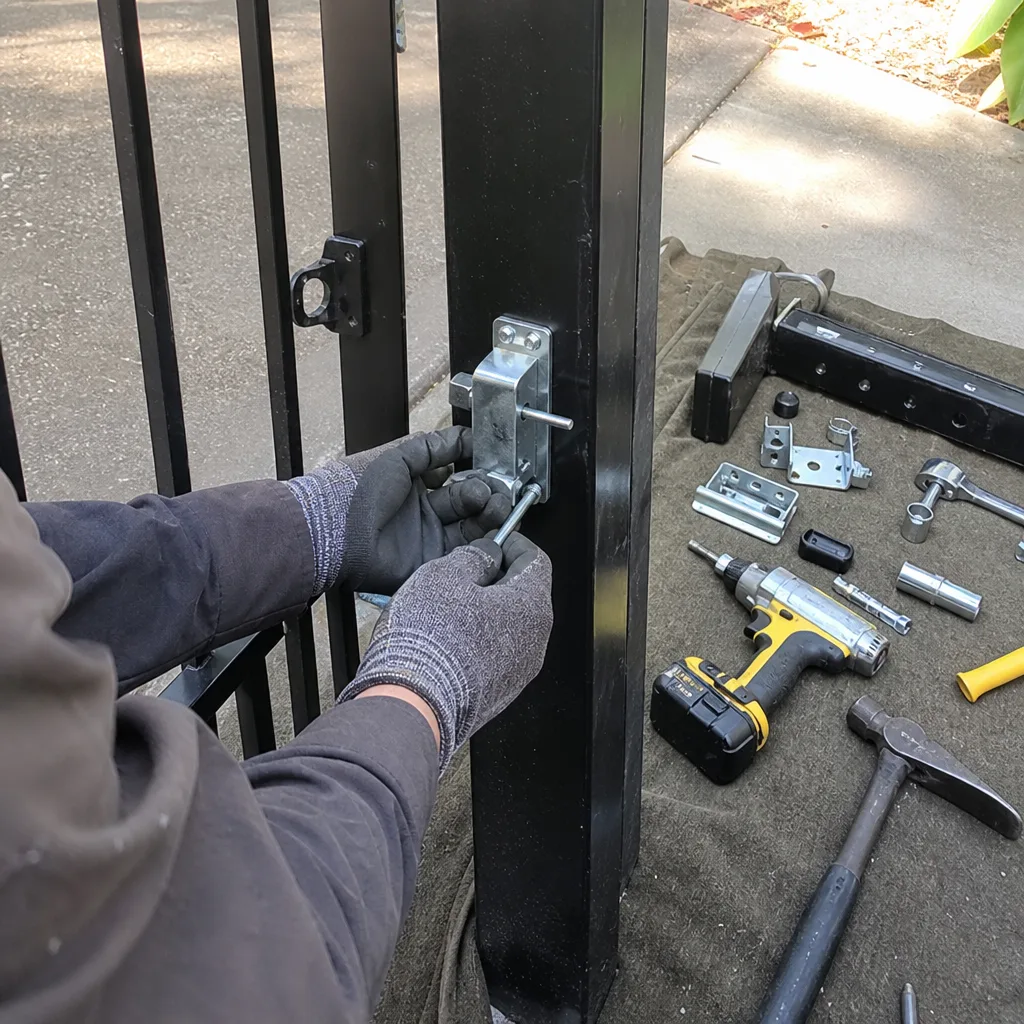
This is the factor almost no DIY guide addresses: the hidden cost of zero documentation.
When a professional technician services your gate, the record should include what was found, what was adjusted, what was replaced, and what the system settings were when the technician left. At Vance Gate Repair services, every visit produces a photo log and a written report under Haven Standard Clause 4 (Evidence on every job). The homeowner keeps a copy; we file another. If the gate malfunctions a year later, any technician can see exactly what was done instead of starting diagnostic work from zero.
What No Documentation Costs You
Without records, you pay for rediscovery:
- Repeat diagnostic time. A technician who can’t see what was previously adjusted must test every component systematically. Diagnostic time is typically billed at the same rate as repair time.
- Part-sourcing errors. The replacement arm on your Elite operator may be a third-party equivalent, not factory-original. Without a part number record, the next technician may order the wrong component and bill you for the mistake.
- Setting drift with no baseline. Limit switches, force settings, and loop detector sensitivity all drift over time. Without documented original values, calibration becomes guesswork.
- Warranty disputes. A motor failure under warranty often requires proof of proper installation settings. No records, no proof.
In our experience serving Oakland since 2014, the average undocumented DIY repair costs 40-60% more to address on the second call than it would have with proper documentation on the first. The savings from skipping professional service evaporate on the callback.
The Real Cost of DIY: A Break-Even Analysis
Most homeowners calculate DIY cost as: parts + my time. This misses several categories that professionals absorb into their flat-rate pricing.
The Full DIY Cost Structure
| Cost Category | Typical DIY Experience | Professional Equivalent |
|---|---|---|
| Parts | $80-$400 (retail, single-unit pricing; may be wrong part on first order) | Included in flat rate, with wholesale pricing and correct specification guaranteed |
| Diagnostic time | 2-6 hours researching symptoms, watching videos, testing hypotheses | Typically 30-60 minutes; technician has seen the failure pattern before |
| Specialty tools | Torque wrench, multimeter, loop detector tester, conduit bender - often purchased for single use | Carried on every truck; no charge to customer |
| Part-sourcing errors | 15-20% probability on first-time orders; return shipping, restocking fees, delay | Technician verifies fit before ordering; error rate under 2% |
| Callback probability | 25-35% for electrical or calibration work; each callback restarts the clock | Covered by warranty; 365-Day Done Right Promise at Vance Gate Repair means no charge for any repair that doesn’t hold |
| Documentation value | $0 (no record produced) | Photo log and written report included; protects warranty, aids future service, supports property sale |
When DIY Breaks Even
For a simple hinge lubrication or photo-eye cleaning, DIY breaks even immediately. For a motor arm replacement on a swing gate, the break-even analysis shifts:
Assume a DIY motor arm replacement on a residential swing gate:
- Arm (retail): $220
- Shipping (expedited, because the gate is stuck open): $35
- Tools you don’t own: $60
- Your time (4 hours at conservative valuation): $100
- First part wrong (wrong bracket pattern): $220 + return hassle
- Callback for calibration adjustment: 2 more hours, no additional parts
Total realistic DIY cost: $400-$650 plus a full day of interrupted schedule. Professional flat-rate repair in the Oakland market for the same scope: typically $340-$520 with documentation, warranty, and no scheduling risk. The DIY “savings” are often negative, and the homeowner carries the liability if the calibration is off.
The calculus changes further for Gate Installation in Oakland or full operator replacement, where permit and UL 325 compliance requirements make professional involvement nearly mandatory for any homeowner who plans to sell within the typical 7-10 year holding period.
When Professionals Actually Save You Money
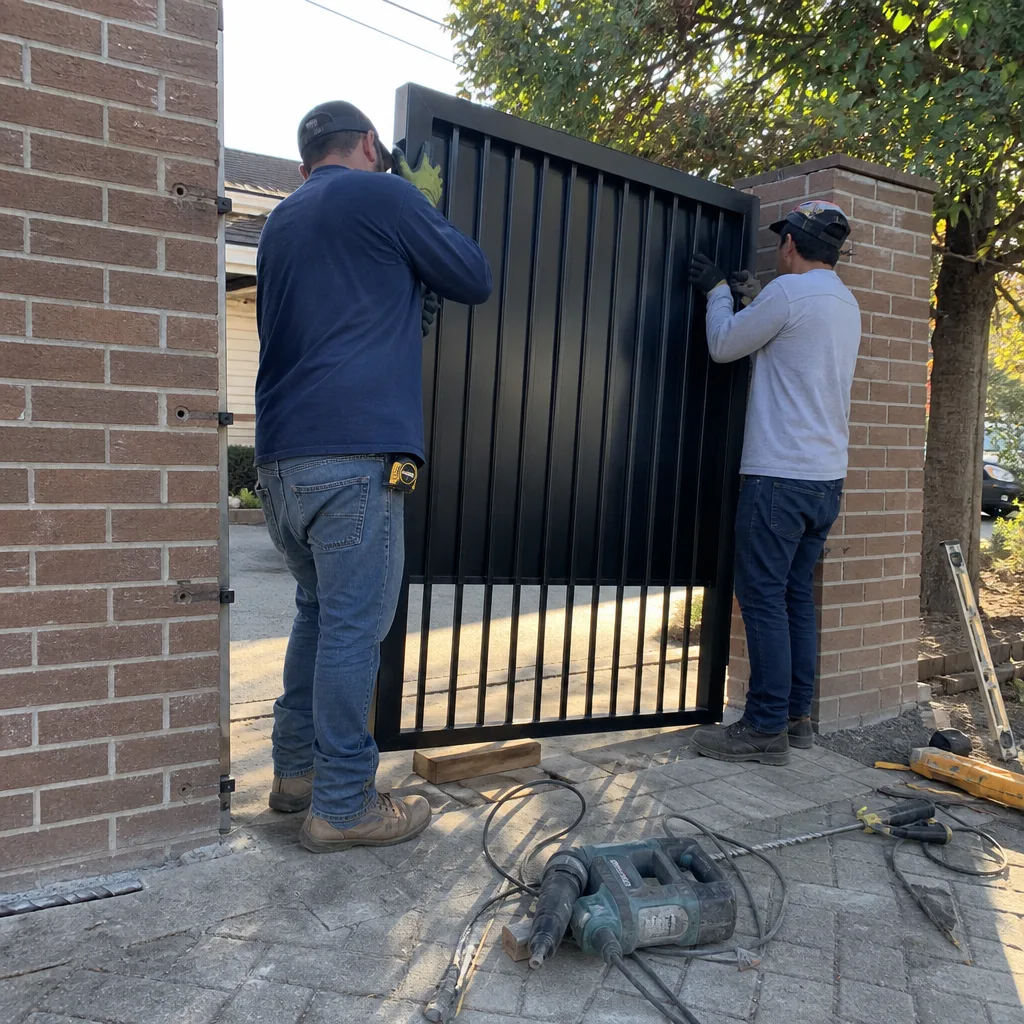
There are three scenarios where professional service is almost always the lower total cost:
1. Electrical Diagnosis
Gate electrical faults - intermittent reversing, random stops, failure to respond to remotes - can stem from a dozen sources: failing loop detector, corroded terminal block, degraded transformer, loose low-voltage connection, or software fault in the control board. A technician with nine brands of experience (LiftMaster, FAAC, BFT, Linear, Viking, Ghost Controls, DoorKing, Elite, Mighty Mule) recognizes failure patterns in minutes that might take a homeowner days to isolate. The diagnostic fee, typically $85-$150 in Oakland, often pays for itself in avoided part-replacement guesses.
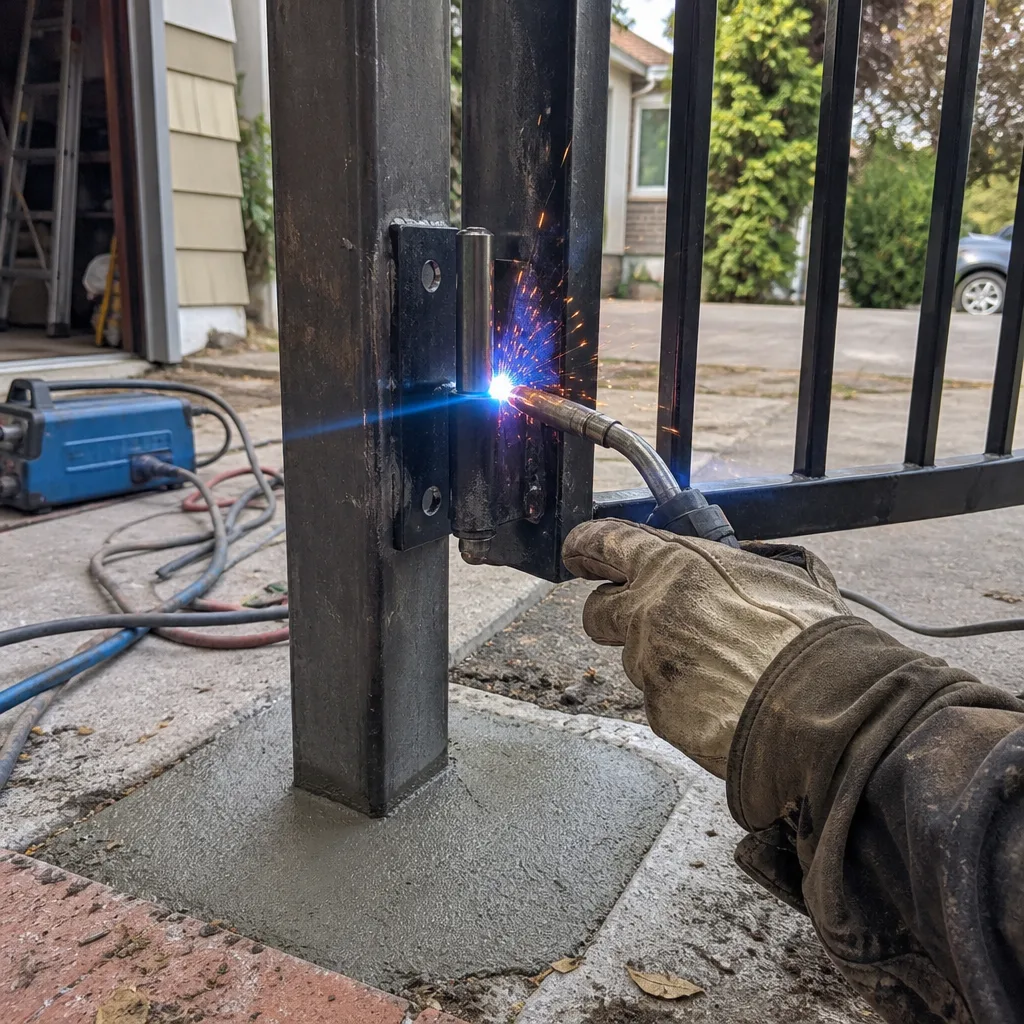
2. Structural or Welding Work
A gate post that has shifted in Oakland’s expansive clay soils, or an aluminum frame that has cracked at a weld point, requires tools and skills most homeowners don’t maintain. Improvised repairs - a 4×4 wedged against a leaning post, a bolt through a cracked frame - create cascading failures. We’ve replaced gates in Maxwell Park and Laurel where a $200 professional weld repair, deferred, became a $3,000 full-gate replacement when the frame tore completely.
3. Any Repair Within Two Years of Planned Sale
If you’re selling in 2025 or 2026, a documented professional repair with photo evidence is a marketing asset. A DIY repair is a disclosure obligation or a liability. The cost difference between professional and DIY narrows to trivial when you factor in buyer credits, delayed closing, or price reductions.
For Gate Motor & Opener in Oakland service, we offer free second opinions on any written estimate from another company. Bring the paperwork and we’ll review it at no cost - a straightforward way to verify whether a quoted scope is reasonable before you commit either to DIY or to another provider.
Oakland-Specific Factors: Climate, Terrain, and Code
Oakland’s geography and regulatory environment create conditions that don’t appear in generic gate repair guides.
Climate and Material Stress
Oakland’s microclimates matter. Properties west of the I-580/13 corridor, near the bay, see more fog-driven moisture and salt air. Hinges and steel frames corrode faster; aluminum components fare better but galvanic corrosion at steel-aluminum interfaces accelerates. East of the hills, in Montclair and Piedmont Pines, summer heat spikes and winter freeze-thaw cycles stress hydraulic fluids in FAAC and BFT operators. The wrong grease or fluid spec for your elevation becomes a cold-weather failure.
We’ve found that Ghost Controls and Mighty Mule units installed by homeowners without elevation compensation frequently fail to close completely on January mornings when temperatures drop into the 30s. The fix is a simple limit-switch adjustment, but the homeowner who doesn’t understand the temperature correlation spends weeks chasing a “random” problem.
Hillside and Seismic Considerations
Oakland’s hills are active geologically. Gate posts set without proper depth and drainage in expansive clay soils shift seasonally. A gate that worked in April may bind in October as soil moisture changes. Professional installation includes post depth, drainage, and sometimes helical piers - none of which are visible in the finished work but all of which determine whether the gate operates year-round.
Post the 2019 Ridgecrest sequence, Oakland tightened enforcement of seismic bracing for masonry and heavy steel gates. A DIY installation that predates current standards may not be grandfathered if it’s modified substantially.
Fire Access and Emergency Override
Oakland Fire Department requirements for hillside properties include Knox Box or equivalent emergency access systems. A gate automation system that doesn’t integrate properly with fire-department override equipment - or that fails to open on battery backup during a PSPS (Public Safety Power Shutoff) event - can block emergency response. Professional installation includes this integration; DIY guides rarely address it.
Common Mistakes to Avoid
- Using automotive grease on gate hinges. It liquefies in summer heat and drips onto driveways in Oakland’s inland valleys. Use lithium-based gate grease rated for the temperature range.
- Disconnecting safety devices to “fix” a gate that won’t close. This violates UL 325 and creates strict liability for any injury. We’ve seen this in rental properties in Temescal where a tenant’s “repair” became the landlord’s lawsuit.
- Replacing an operator without checking post integrity first. A new motor on a shifting post tears itself apart in months. Always verify the gate swings freely by hand before automating it.
- Ignoring the manual release test. Every Oakland homeowner should verify monthly that the manual release works. During the 2019 PSPS events, we responded to dozens of calls where the release had corroded in place and the gate was stuck closed with vehicles inside.
- Buying parts by visual match instead of model number. Gate arms and brackets look similar across brands but have different torque ratings and bolt patterns. A Mighty Mule arm on an Elite bracket fails catastrophically.
- Calibrating force settings by “seems about right.” UL 325 requires specific force limits; too high and the gate doesn’t reverse on contact, too low and it reverses on wind resistance. Use a force gauge or hire someone who does.
- Skipping the loop detector sensitivity check after any concrete or paving work. New rebar, wire mesh, or changes in soil moisture alter loop inductance. The gate may work intermittently for weeks before failing completely.
When to Call a Professional
Call a professional when the repair involves electricity, structural load, or safety-system configuration; when you plan to sell within two years; when the gate is the primary security or fire-access control for the property; or when you’ve already attempted a repair and the problem persists or changed. In Oakland’s varied terrain and regulatory environment, professional documentation protects value in ways that are hard to price until you need them.
Vance Gate Repair Oakland offers free estimates in Oakland - call (628) 270-2709. Every estimate includes a written scope and price before any work starts, under Haven Standard Clause 1. If you have a written estimate from another company, we’ll review it at no charge and tell you whether the scope and pricing are reasonable for your specific gate and site conditions.
Frequently Asked Questions
Most residential gate repairs in Oakland range from $180 for basic adjustments and safety-device realignment to $650 for motor arm replacement with full calibration and documentation. For detailed pricing context, see our Gate Repair Cost Breakdown: The Oakland Homeowner’s Reference for 2026. Full operator replacement with UL 325 compliance verification typically runs $1,200-$2,400 depending on brand, gate weight, and whether post work is needed. We provide a written price before any work starts; call (628) 270-2709 for an exact quote - estimates are free.
You can, but the savings are often illusory once you factor in tools, part-sourcing time, callback risk, and the liability exposure of an unpermitted, uncertified installation. In California, UL 325 compliance is required regardless of who installs the operator. Professional installation includes certification, documentation, and warranty coverage that protect you at sale time and in the event of injury.
UL 325 requires two independent entrapment-protection devices of different types. Common combinations include: (1) photo-eyes (infrared beam) plus safety edge (contact-sensitive strip on the gate leading edge), or (2) photo-eyes plus monitored loop detector with presence function. Two photo-eye pairs do not satisfy the standard; they are the same type and can fail the same way.
Possibly. California Civil Code requires disclosure of unpermitted work and known code violations. A gate operator installed without UL 325 compliance, or electrical work without permit, is arguably disclosable. Professional repairs with documentation become selling points; DIY repairs become disclosure obligations or liability risks. If you’re within two years of planned sale, professional service is usually the lower-risk choice.
Check for two distinct safety devices (not two of the same type), verify the operator has a current UL listing label, test that both devices actually stop or reverse the gate when triggered, and confirm the manual release functions smoothly. If any of these checks fail, or if you can’t identify what safety devices are installed, schedule a professional safety inspection. We offer these in Oakland with full documentation of findings.
You should receive: a written scope of work and price (before work starts), a written summary of what was found and what was done, part numbers and specifications for any replacements, photographed evidence of adjustments and installed components, and calibration or test results for safety devices. Under Haven Standard Clause 4, every Vance Gate Repair visit includes all of these at no additional charge.
The Bottom Line
The DIY-versus-professional question for gate repair has a cleaner answer than most guides admit: mechanical adjustments and basic lubrication are reasonable DIY territory, but anything involving the electrical system, post structure, or UL 325 safety components creates liability and future-sale risk that most Oakland homeowners aren’t pricing into their decision. The true cost of DIY includes your time, tool acquisition, part-sourcing errors, callback probability, and the documentation gap that makes every future repair more expensive. For a structured approach to staying ahead of problems, see our Gate Repair Maintenance Checklist for Oakland Homeowners. When you factor these fully, professional service breaks even faster than the sticker-price comparison suggests, and it produces the written record that protects your property value.
If you’re weighing a repair and want a written price before deciding, call Vance Gate Repair Oakland at (628) 270-2709. We’ll scope the work, name the price in writing, and let you decide whether to proceed - no pressure, no voicemail, no callback queue.
Written by Adrian Vance, Owner at Vance Gate Repair Oakland, serving Oakland since 2014.