
Last updated September 22, 2026
Free on-site gate assessment - hinges, posts, and your LiftMaster or Nice gate operator checked before anything is quoted
The assessment is free and the quote is the invoice.

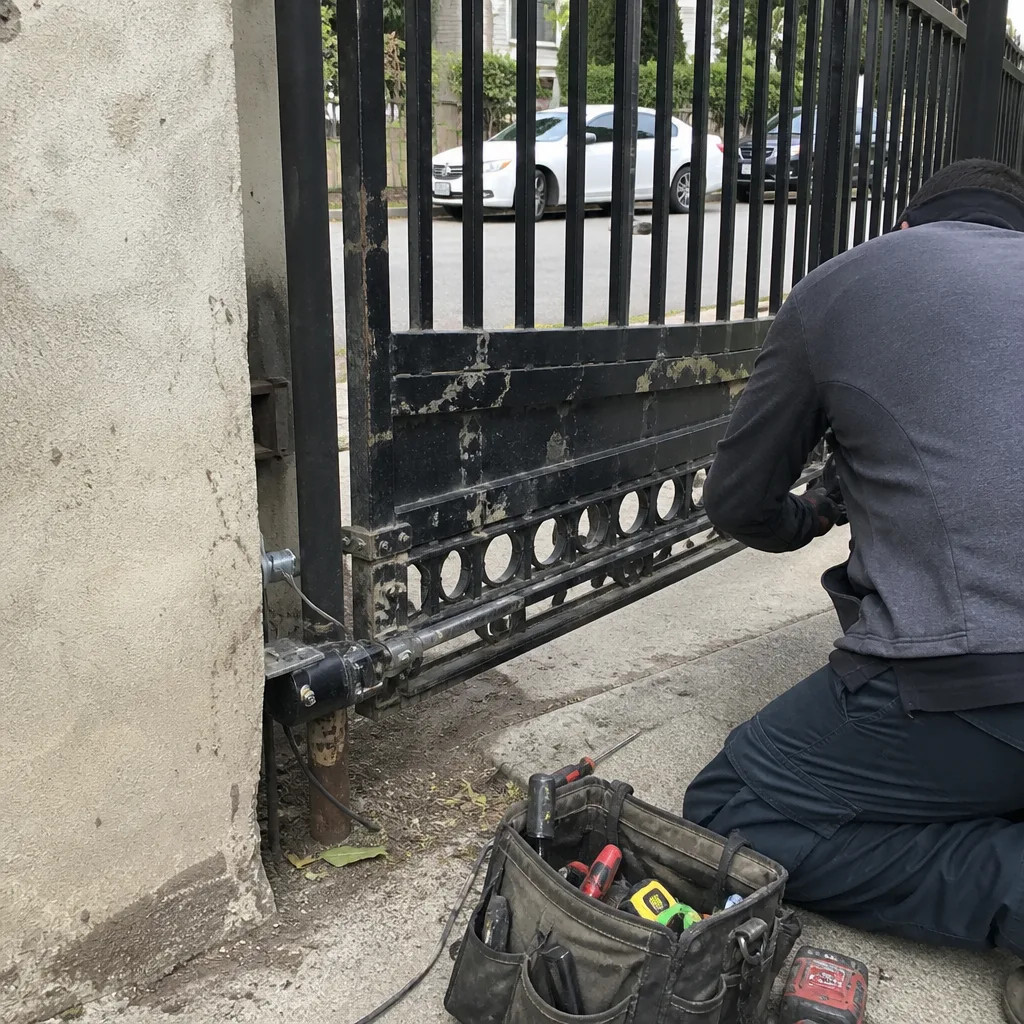 Before
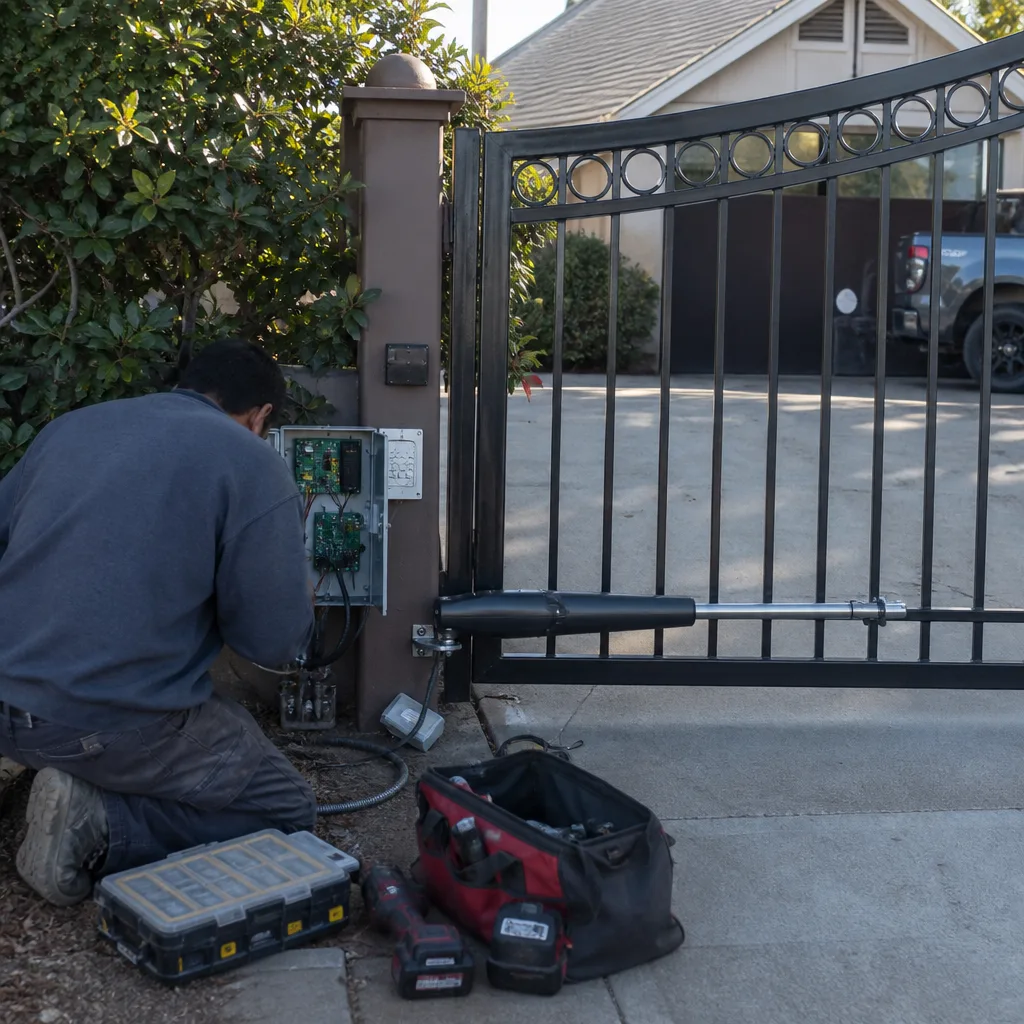 After
After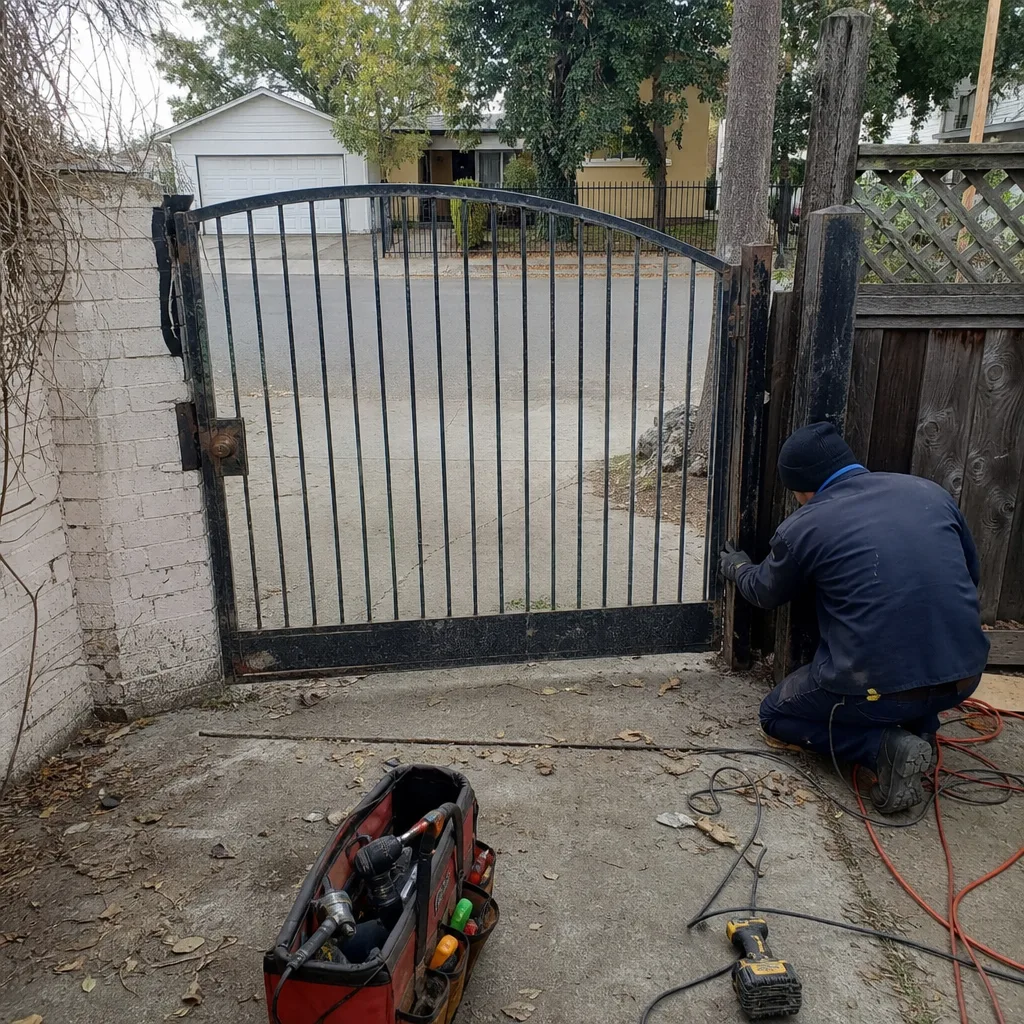 Before
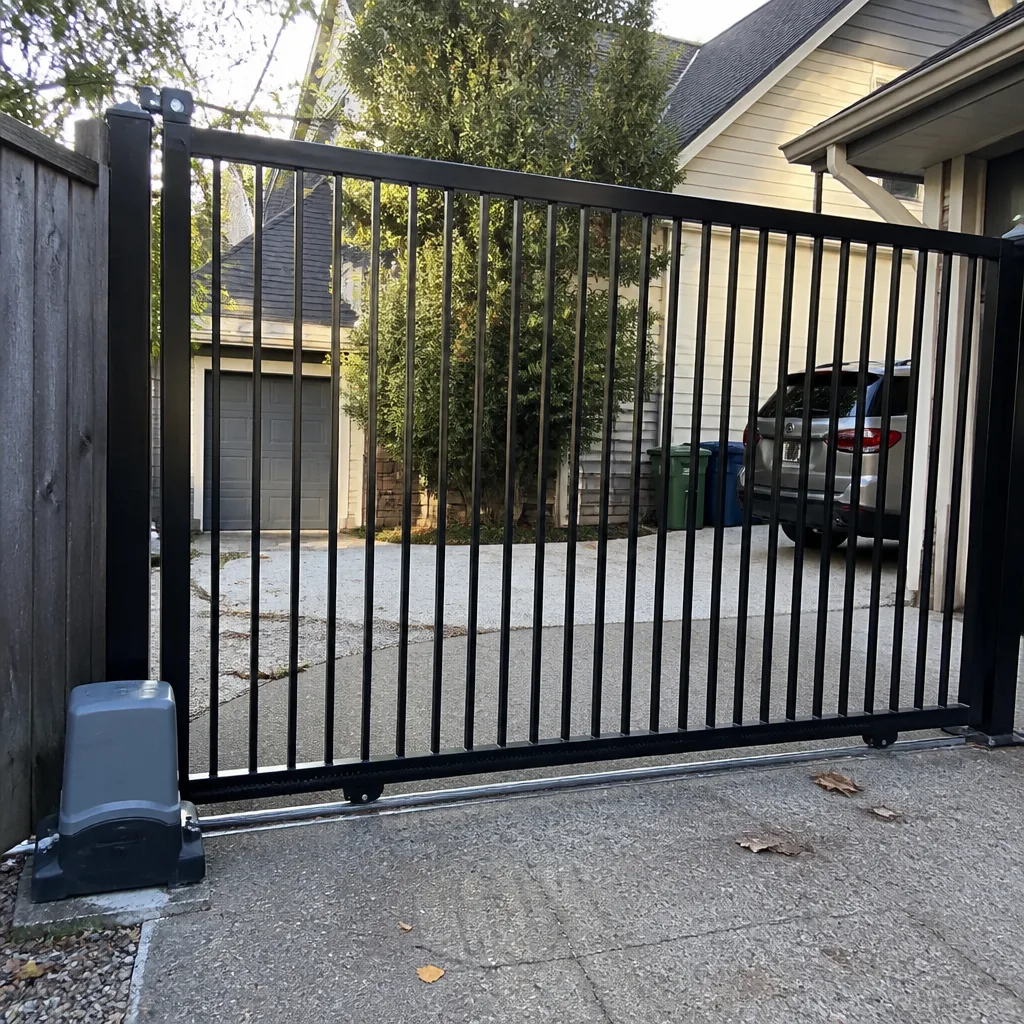 After
After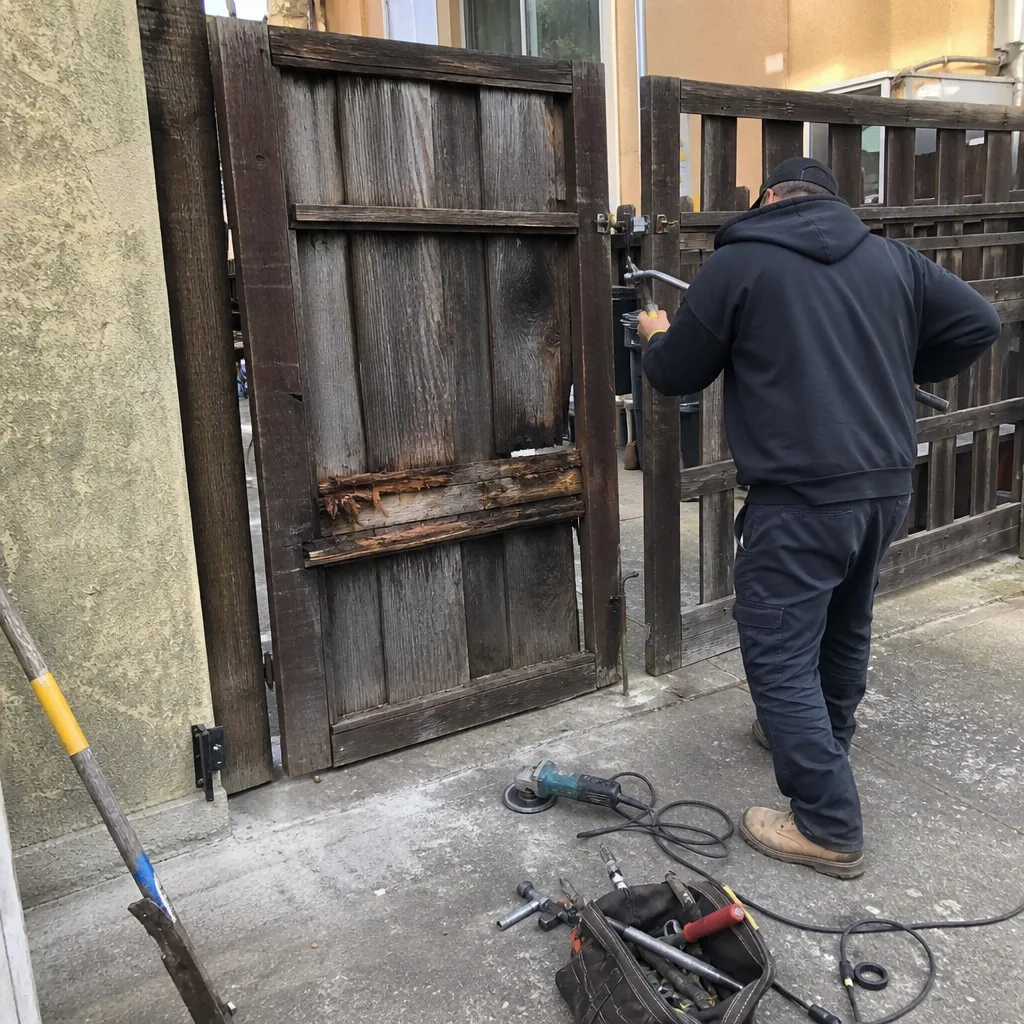 Before
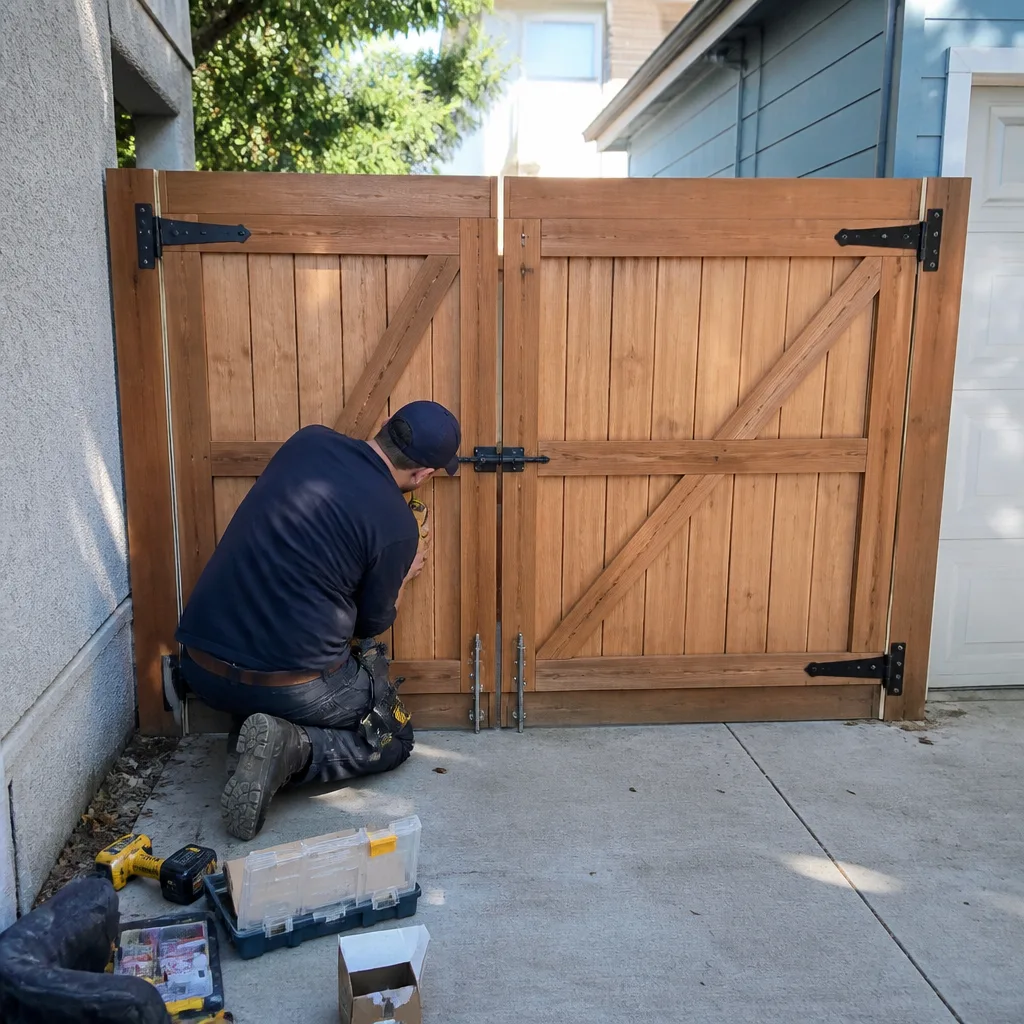 After
AfterGate Repair Maintenance Checklist for Oakland Homeowners
A standard 12-point gate maintenance checklist will tell you to lubricate your hinges twice a year. It won’t tell you that an Oakland homeowner 1.5 miles from the estuary should do it four times, or that petroleum-based lubricant accelerates corrosion on galvanized hardware in salt-air zones. We’ve been documenting gate conditions across Oakland since 2014, and the pattern is unmistakable: the same gate model, installed the same week, degrades at entirely different rates depending on whether it sits in the Oakland Hills, the flatlands, or within sniffing distance of the Bay. This guide gives you a zone-calibrated maintenance checklist built from what we’ve actually found on Oakland properties, plus the documentation habits that turn routine upkeep into a record that saves you money on every future gate repair.
Quick Answer
Oakland homeowners should inspect their gates monthly for debris, rust, and safety sensor alignment; lubricate moving parts every 3-4 months in estuary zones and every 6 months in the hills; and test the gate operator’s battery backup and safety-edge compression twice yearly. Record baseline measurements - gap tolerances, limit-switch positions, loop detector response times - so you catch drift before it becomes a failure. Store photos and notes by date; this documentation becomes the reference that prevents repeat diagnoses and surprise costs on every future service call. For gate repair warning signs every Oakland homeowner should watch for, see our dedicated reference.
Table of Contents
- Zone-Based Maintenance: Estuary, Hills, and Flatlands
- Monthly Inspection Routine
- Lubrication Schedule and Product Selection
- Reading Your Gate Operator’s Error Log
- Baseline Measurements Homeowners Can Record
- The Documentation Habit: What to Photograph and Where to Store It
- The Three Maintenance Items Most Oakland Homeowners Skip
- Seasonal Maintenance Checklist
 Before
 After
AfterZone-Based Maintenance: Estuary, Hills, and Flatlands
Oakland’s geography creates three distinct corrosion and wear environments for gates. Treating them the same is where most maintenance plans fail.
Estuary-Adjacent Properties (Jack London Square, Embarcadero Cove, Alameda Border)
Salt air here is measurable. We’ve opened control boxes within a quarter-mile of the water and found terminal blocks green with oxidation in under 18 months. The chloride load accelerates galvanic corrosion between dissimilar metals - stainless steel bolts against galvanized posts, aluminum arms against steel brackets.
Specific tasks for estuary zones:
- Lubricate hinges, rollers, and chain every 3 months - not twice yearly. Use a dry-film lubricant or silicone-based product; petroleum-based greases attract salt particles and form an abrasive paste.
- Inspect ground wire connections monthly. Salt air corrodes the copper-to-steel bond first, and a compromised ground is what lets transient voltage spike your gate motor & opener in Oakland.
- Remove and clean photo-eye lenses with isopropyl alcohol every 6 weeks. Salt film builds faster than dust and scatters the infrared beam.
- Check aluminum track for white oxide bloom (the powdery residue that precedes pitting). Wipe clean and apply a thin coat of car wax - the same habit you’d use on a boat.
Oakland Hills (Montclair, Piedmont Pines, Skyline, Joaquin Miller)
The hills trade salt for heat and gradient stress. Summer temperatures on south-facing gates regularly exceed 140°F on metal surfaces. Gate operators mounted in direct sun - especially dark-housing models - thermal-cycle their capacitors aggressively. And hillside installations mean gates fight gravity differently on the upswing than the downswing.
Specific tasks for hill zones:
- Test operator thermal shutdown behavior in July or August. Run the gate through 10 cycles, then check the housing temperature with an infrared thermometer. If it’s over 160°F internally, the unit is living past its thermal margin and needs shade or ventilation.
- Inspect the gate’s upswing support post for soil creep. Hillside soil moves; we’ve found posts tilted 3-4 degrees from plumb that the homeowner hadn’t noticed because the gate still closed.
- Grease the chain or rack every 6 months with a high-temperature lithium complex grease. Standard NLGI #2 grease liquefies and drips out by August.
- Check limit-switch settings seasonally. Temperature swing changes metal expansion enough that a gate set perfectly in March may over-travel by October.
Inland Flatlands (Fruitvale, Temescal, Rockridge, North Oakland)
Flatland Oakland gets the wettest winters and the heaviest leaf load from mature street trees. Standing water and organic debris are the enemies here.
Specific tasks for flatland zones:
- Clear drain holes in operator housing and post bases before November rains. A half-inch of standing water in a post base will wick up and rot a wooden gate from the inside out.
- Inspect the induction loop (the wire embedded in the driveway that tells the gate a car is present) for asphalt cracking. Water intrusion breaks loops silently; the gate simply stops responding to vehicles.
- Remove leaf buildup from the gate track or guide rollers weekly in October through December. Decaying leaves hold moisture against steel and create electrolytic cells.
- Test the battery backup after the first heavy rain of the season. Cold-soaked batteries recover poorly if they’ve been sitting at low charge through a wet winter.
Monthly Inspection Routine
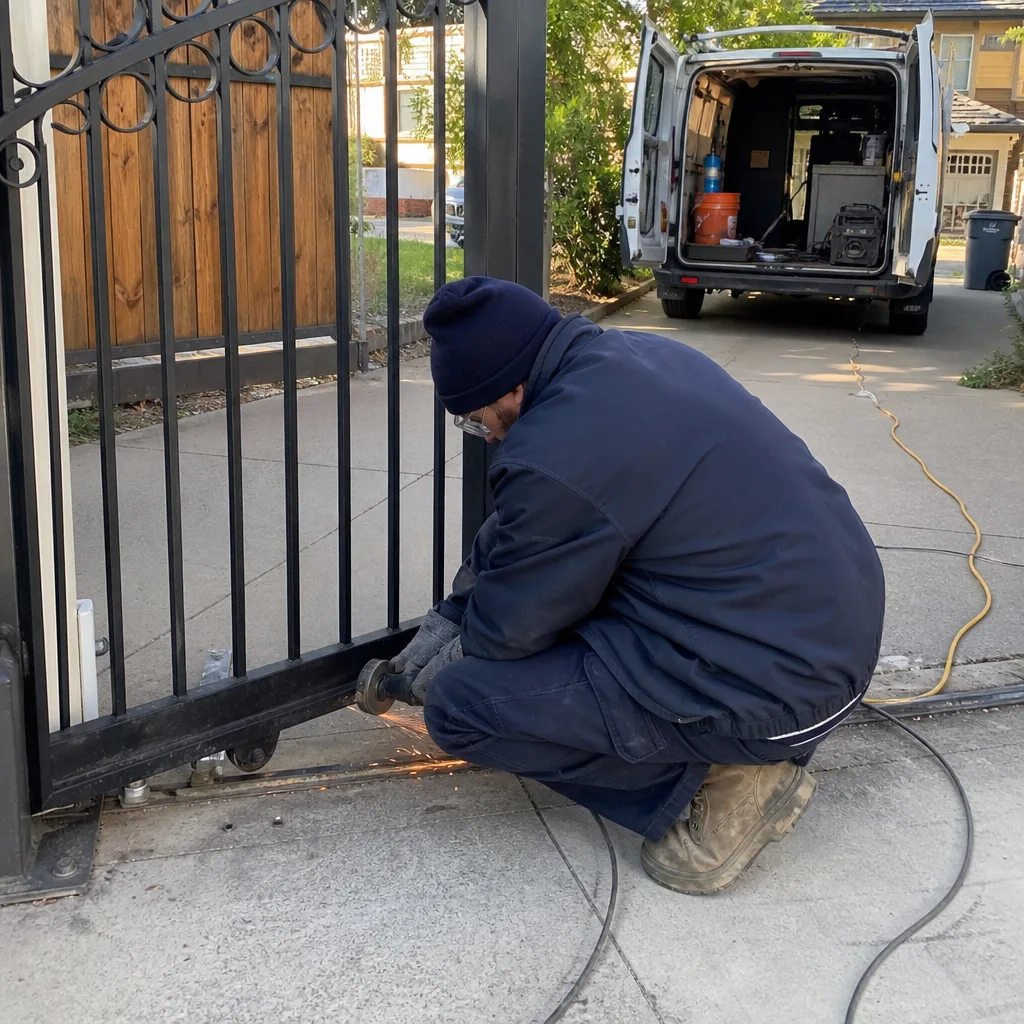
A 10-minute walk-around catches most developing problems before they strand you on the wrong side of the gate. We recommend the first Saturday of each month - consistency matters more than perfection.
- Visual sweep for physical damage. Look for cracked welds, bent pickets, loose cap screws on the operator arm, and any new rust bloom. Tap questionable welds with a wrench; a dull thud means crack, not surface rust.
- Test safety systems. Place a solid object (a 2×4 works) in the gate’s path and run a close cycle. The gate should reverse within 2 seconds of contact. Test photo-eyes by breaking the beam with your leg during travel - the gate should stop immediately, not reverse after contact.
- Listen to the motor. A healthy operator produces a consistent mechanical sound. Grinding, clicking, or a change in pitch means something shifted. Record a 10-second audio clip on your phone; comparing month to month reveals degradation you’d miss in real time.
- Check manual release. Every operator has a manual release (key switch, lever, or pull cord). Verify it disengages the motor and lets you move the gate by hand. If it’s stiff, the mechanism needs cleaning - don’t wait for an emergency to discover it’s seized.
- Inspect the control box interior. With power off, open the enclosure and look for moisture, insect nests, or corrosion on terminal blocks. A desiccant pack helps in Oakland’s variable humidity; replace it when it changes color.
- Verify remote and keypad function at range. Test from inside your car at the street, not standing next to the gate. Range reduction often means a failing receiver antenna or interference from a new WiFi router on the same frequency.
Record anything unusual in a dated note. “Motor pitch higher by third octave, October 3” is more useful to a technician than “gate making noise” six months later.
Lubrication Schedule and Product Selection
The right product at the wrong interval, or the wrong product in the right interval, both waste money and accelerate wear. Here’s what we’ve settled on after documenting outcomes across Oakland’s microclimates.
| Component | Estuary Zone | Hills | Flatlands | Product Type |
|---|---|---|---|---|
| Hinge pins & bushings | Every 3 months | Every 6 months | Every 6 months | Silicone or dry-film PTFE |
| Chain or rack drive | Every 3 months | Every 6 months | Every 6 months | Lithium complex grease (hills: high-temp grade) |
| Guide rollers | Every 3 months | Every 6 months | Every 6 months | Light machine oil, wipe excess |
| Locking hardware | Every 2 months | Every 4 months | Every 4 months | Graphite powder (not liquid) |
| Operator gear housing | Annual inspection | Annual inspection | Annual inspection | Factory-specified grease only |
What not to use: WD-40 as a lubricant (it’s a solvent and displacer, not a lasting lubricant), petroleum-based greases in salt air, and spray lubricants near photo-eyes (the overspray films the lens and causes phantom obstruction errors).
For gate repair in Oakland calls that trace back to lubrication failures, the pattern is usually estuary-zone corrosion from petroleum grease or hills-zone thermal breakdown from standard NLGI grease. The product costs $8 more per tube. The service call it prevents costs $180-340.
Reading Your Gate Operator’s Error Log
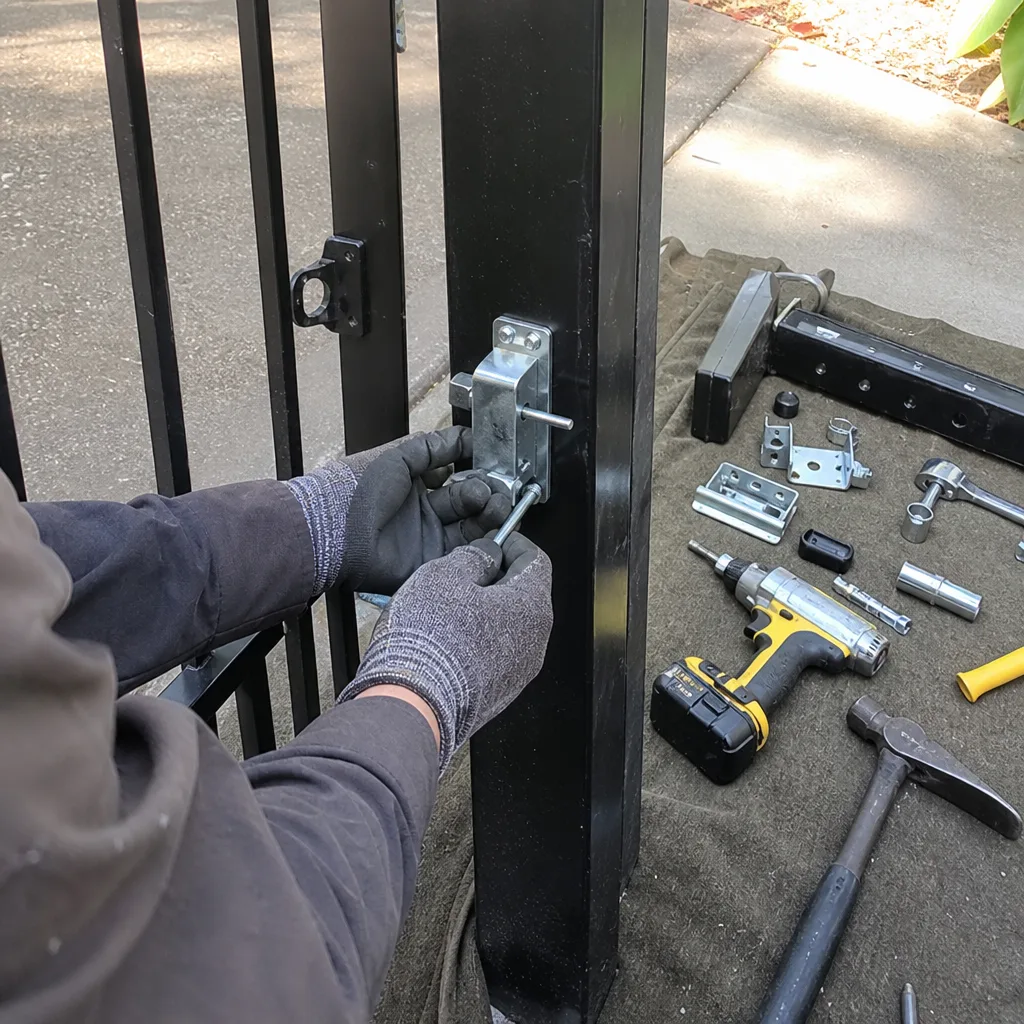
Most modern operators store a running log of faults, cycles, and diagnostic codes. Reading it before a maintenance visit turns a vague “gate acting up” call into a targeted repair with a known part in the truck. Here’s how to access logs on common brands we service in Oakland.
LiftMaster (LA, RSL, and CSW Series)
- Press and hold the “Learn” button for 6 seconds until the LED turns solid red.
- Release, then press the “Learn” button 3 times rapidly.
- The LED will flash a two-digit code: first digit = long flashes, second digit = short flashes. Count carefully.
- Cross-reference the code in the owner’s manual or on the label inside the control box lid.
- Common Oakland codes: 1-1 (photo-eye obstruction), 1-5 (thermal shutdown, frequent in hill-zone summer), 2-3 (excessive force detected, often from debris in track).
DoorKing (1833, 1834, and 9100 Series)
- Enter programming mode: press * # 1 2 3 4 # on the keypad (default master code; change this if you haven’t).
- Scroll to “Diagnostics” using the arrow keys.
- Select “Error History” to view the last 10 faults with timestamps.
- Note the code and the time stamp - “3:47 PM Tuesday” tells you if the fault correlates with a specific event (garbage truck, school pickup, etc.).
FAAC, BFT, and Viking
European brands (FAAC, BFT) and select domestic models (Viking) use LED blink patterns or LCD readouts. FAAC 400 series flashes green for normal, red for fault - count the red flashes and match to the chart in the housing. BFT’s Deimos and Ares operators display alphanumeric codes on a small LCD; “E-05” typically indicates encoder drift, common on hillside gates with heavy use. Viking’s G-5 and F-1 series use a two-color LED: steady red means limit switch fault, flashing red means overload.
Write down the code, the date you read it, and any recent weather or usage change. A technician arriving with “E-05, started after October rain storm, gate now overshoots by 6 inches” has a diagnosis before opening the toolbox.
Baseline Measurements Homeowners Can Record
Drift is the enemy of gate longevity. Catching it early means adjustment, not replacement. These are the measurements we record on every gate installation in Oakland, and they’re simple enough for a homeowner to maintain.
Gap Tolerances
Measure the gap between gate and post (or between dual gates) at top, middle, and bottom. Record to the nearest 1/16 inch. A gap that was 3/8″ at installation and is now 1/8″ means the post shifted, the hinges elongated, or the gate frame twisted. Any change over 1/8″ warrants investigation.
Limit-Switch Positions
For operators with mechanical limit switches (most Linear, Viking, and older FAAC models), note the cam or magnet position at full open and full close. Photograph the setting. If the open position drifts from “2 o’clock” to “1:30” over six months, the cam is slipping or the gate is binding.
Loop Detector Response Time
Time how long from vehicle arrival to gate start. A stopwatch is sufficient. Normal is 2-4 seconds. Stretching to 6-8 seconds means loop sensitivity is dropping - often from asphalt cracking, water intrusion, or detector board capacitor aging.
Motor Current Draw
If your operator has a diagnostic display showing current (some LiftMaster and DoorKing models do), record the amp draw during open and close cycles. A 15% increase from baseline means increased mechanical resistance - binding rollers, debris in track, or a failing bearing.
Where to Record
A simple spreadsheet with date, measurement, and notes. Or a dedicated notebook stored with the operator manual. The format matters less than the consistency. When you call for service, read the last three entries to the dispatcher. Under the Haven Standard, our technicians reference your records before arriving, and we bring the right parts instead of diagnosing from zero.
The Documentation Habit: What to Photograph and Where to Store It
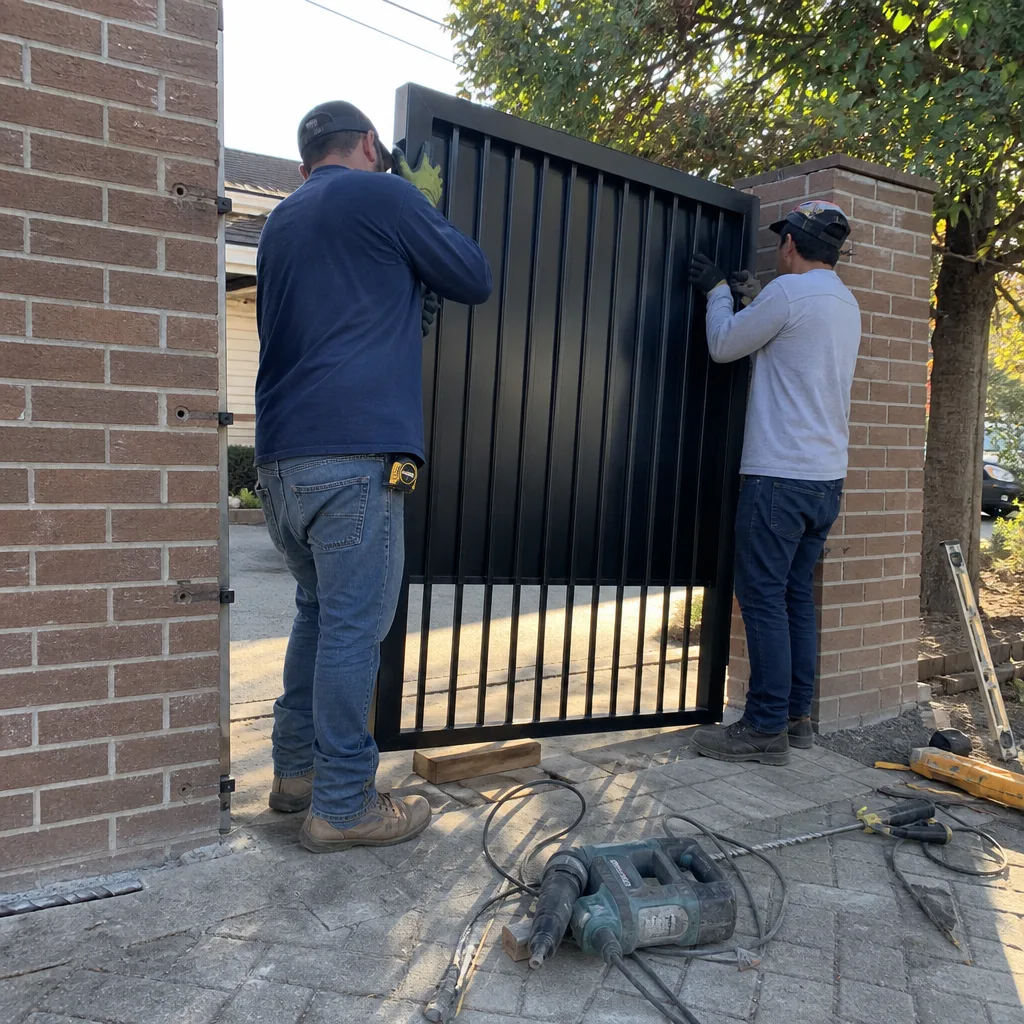
Every Vance Gate Repair Oakland home visit leaves a photo record - it’s Clause 4 of the Haven Standard. Homeowners who maintain their own parallel record create institutional memory that survives technician turnover, home sales, and the simple forgetting that happens across years.
Photograph these items annually, minimum:
- The operator nameplate (model, serial, date code). This is the first thing a parts desk needs.
- The interior of the control box, wiring layout visible. If a wire comes loose, you have a reference for where it belonged.
- The limit-switch or encoder position at full open and full close.
- The photo-eye alignment - both lenses, with the LED indicator visible in the shot.
- The gate in full open and full close positions, from the same vantage point each time. Visual comparison reveals sag or twist faster than measurement.
- Any rust, crack, or wear point you notice during inspection.
Store in a cloud folder named by address and “Gate Records.” Share access with anyone who might need to authorize repair. When you sell the home, this folder is a transferable asset that raises the property’s maintenance credibility.
Under the Haven Standard, we leave our own photo log with you and file a duplicate in the job record. Your photos plus ours create a complete chain of evidence. We’ve had Oakland homeowners avoid repeat diagnoses on gates we first touched in 2016 because both records showed the same weld repair, same part number, same technician name.
The Three Maintenance Items Most Oakland Homeowners Skip
These three items account for the majority of emergency repair calls we run in Oakland. They’re not dramatic. They’re not expensive to check. They’re simply out of sight.
1. Ground Wire Integrity
The ground wire bonds the operator chassis to a grounding electrode - usually a ground rod or the rebar in a concrete footing. Its job is to shunt lightning strikes, power-line crosses, and static buildup safely to earth. When it corrodes or loosens, transient voltage has nowhere to go except through the circuit board.
How to check: Follow the green or bare copper wire from the operator ground terminal to its connection point. The connection should be tight, the wire unbroken, and the metal bright where it contacts the electrode. In estuary zones, corrosion often hides under the clamp; loosen it, clean with a wire brush, and re-torque. If the wire is green and brittle for more than an inch from the terminal, replace it.
We’ve replaced three FAAC control boards in Jack London Square in two years, all from the same cause: ground wire corroded through at the clamp. The lightning that killed them was distant and minor; a proper ground would have shunted it. Each board replacement was $400-600. The ground wire replacement would have been $0 in materials and 10 minutes.
2. Battery Backup Voltage
California fire code requires battery backup on all new gate operators, and most Oakland installations from 2019 forward have it. The battery sits in a tray, trickle-charging, until the power goes out. Then it has one job: open the gate once, maybe twice, for egress.
How to check: With the gate idle, measure battery voltage at the terminals with a multimeter. A healthy 12V battery reads 12.6-12.8V at rest. Below 12.4V means it’s sulfating and losing capacity. Below 12.0V, it’s a paperweight that happens to look like a battery.
Test under load: disconnect AC power and run a cycle. The gate should move at normal speed. If it crawls or stalls, the battery is failing even if the at-rest voltage looked acceptable.
Replace every 3-4 years regardless of test results. Heat in the hills accelerates plate corrosion; cold wet winters in the flatlands accelerate sulfation. There is no “it still works” - there’s only “it works until the night you need it.”
3. Safety-Edge Compression Test
The safety edge is the rubber strip on the leading edge of a sliding gate or the bottom of a swing gate. It contains a pressure-sensitive switch that stops and reverses the gate on contact. It’s a moving part that fatigues, and it’s the last line of defense before a gate hits a person or vehicle.
How to check: With the gate in motion, press the safety edge firmly with your hand (not a fingertip - simulate the distributed pressure of an actual contact). The gate should stop and reverse within 1 second. Test at multiple points along the edge length; we’ve found edges that respond at the center but not at the ends, where the internal ribbon conductor has cracked from repeated flexure.
Also inspect the edge for UV cracking, compression set (permanent flattening), and secure mounting. Oakland’s sun exposure varies dramatically - a south-facing gate in Montclair gets 40% more UV than a shaded flatland installation. Replace the edge if the rubber is stiff or cracked; the internal switch can’t protect what the housing can’t transmit.
Seasonal Maintenance Checklist
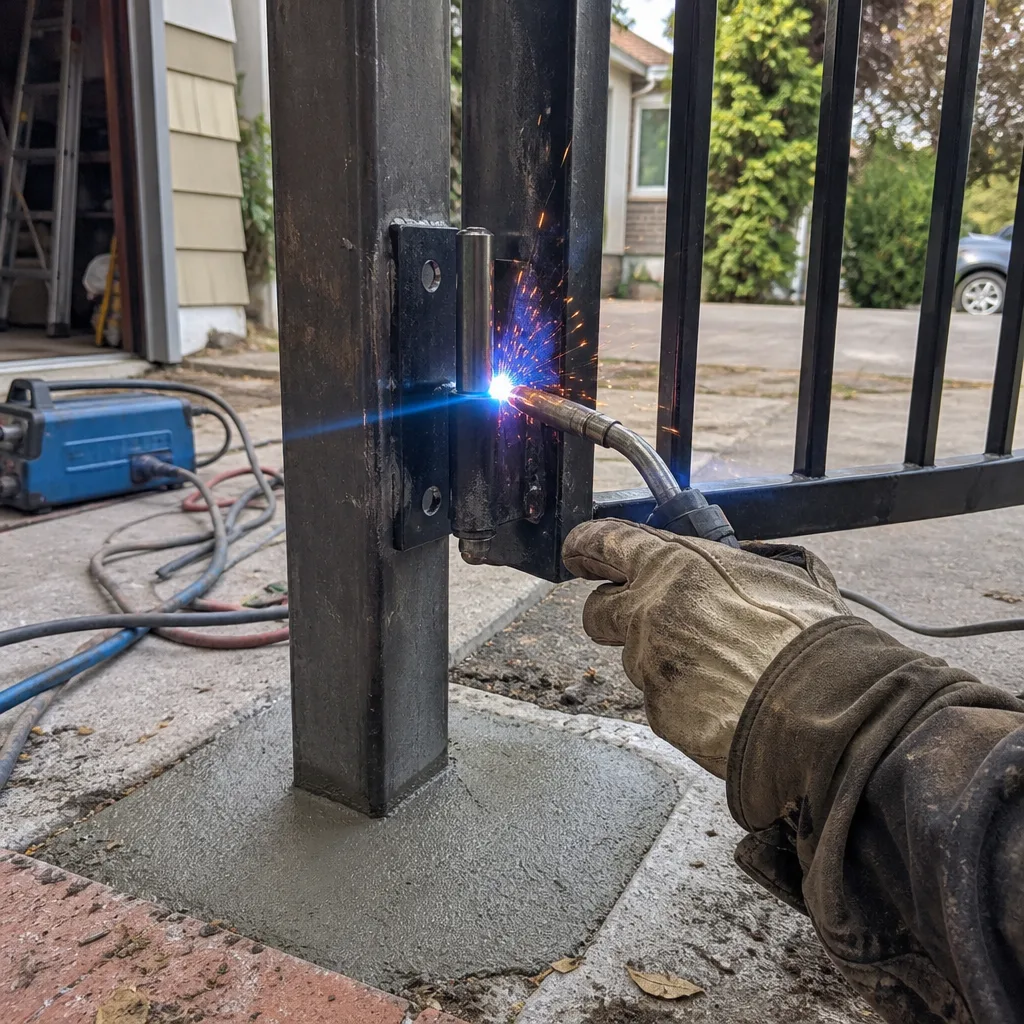
Oakland’s Mediterranean climate creates distinct seasonal stresses. This checklist maps the monthly routine to seasonal priorities.
Spring (March-May)
- Post-winter corrosion inspection: check all hardware for rust bloom that started in wet months.
- Test battery backup after winter low-charge season.
- Clear drainage from flatland installations; April showers test every clogged channel.
- Verify limit-switch settings as temperature rise begins; metal expansion changes travel.
Summer (June-August)
- Hill-zone thermal check: operator housing temperature, shade adequacy.
- Lubricate with high-temperature-rated products before heat peaks.
- Inspect for pest intrusion - wasps and ants seek operator housing for cool, enclosed nesting.
- Check photo-eye alignment weekly if your gate faces west; afternoon sun can blind some sensors seasonally.
Fall (September-November)
- Pre-rain drainage clearance: post bases, operator housing, track troughs.
- Leaf management schedule established for flatland properties.
- Final battery test before winter reduced solar charging (if solar-powered).
- Schedule professional inspection if any baseline measurement has drifted through summer.
Winter (December-February)
- Increased frequency of moisture checks in control boxes.
- Monitor for asphalt cracking over induction loops after first freeze-thaw cycles.
- Verify manual release function - power outages are more frequent in winter storms.
- Document any new noise or behavior; wet-season symptoms often trace to specific intrusion points.
Common Mistakes to Avoid
- Using petroleum-based grease in estuary zones. It attracts salt particles and forms grinding paste. We’ve replaced hinge pins that should have lasted 15 years after 4 years of this treatment.
- Ignoring the manual release until the power is out. In Oakland’s hills, PG&E PSPS events can leave you without power for days. A seized manual release means you’re cutting the chain or waiting for utility restoration.
- Pressure-washing the operator housing. The enclosure is rain-resistant, not pressure-washer-resistant. Water forced past gaskets destroys circuit boards with slow, invisible corrosion.
- Adjusting limit switches without recording the original position. If your adjustment makes things worse, you have no reference to return to. Photograph first, adjust second.
- Assuming “no noise” means “no problem.” A gate that suddenly goes silent may have a stripped gear or a failed motor capacitor - the quiet is the failure, not the health.
- Waiting for the gate to fail completely before calling. Intermittent faults are diagnosable; dead gates often erase the evidence. A gate that reverses randomly on Tuesday may give a clear error code Tuesday; by Friday, when it’s dead, the log has cycled past it.
- Using the wrong remote battery and assuming the gate is broken. CR2032 vs. CR2025 vs. CR2016 - they’re not interchangeable. A weak battery reduces range before it dies completely, and homeowners often schedule service for a $0.50 fix.
When to Call a Professional
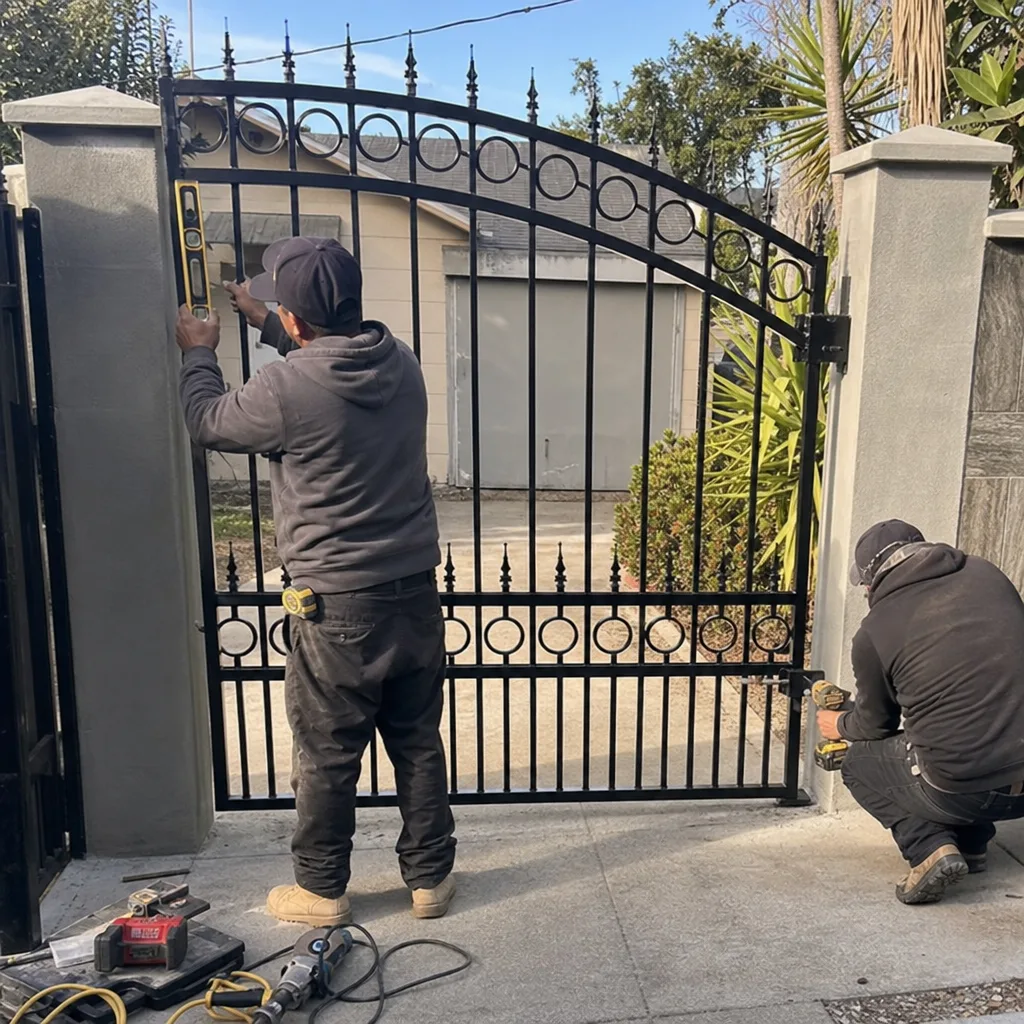
Some maintenance is homeowner territory. Some crosses into regulated or genuinely hazardous work - see our guide to Gate Repair Permits, Codes & Inspections in CA: What You Need to Know. Call a technician when you encounter:
- Any welding repair - gate frame cracks, broken pickets, failed hinge welds. Structural welding requires code-compliant penetration and often triggers permit requirements in Oakland.
- Electrical work beyond battery testing or terminal tightening. California requires a C-10 or C-61/D-49 license for low-voltage gate wiring modifications; unlicensed work voids insurance and creates liability.
- Spring replacement on overhead or vertical-lift gates. These are under tension that can cause serious injury.
- Any fault you can’t reproduce consistently. Intermittent electrical faults require diagnostic tools - oscilloscopes, loop impedance testers - that don’t belong in a homeowner’s garage.
- Baseline measurements that have drifted more than 20% from installation values. The cause may be simple, but the consequence of guessing wrong is accelerated wear or safety system failure.
Vance Gate Repair Oakland offers free estimates in Oakland - call (628) 270-2709. We’ll review your maintenance records, check your operator’s error log, and give you a written scope and price before any work starts. Browse our more guides & resources for additional gate maintenance help. Under the Haven Standard, every visit leaves a documented photo record at no additional charge.
Frequently Asked Questions
Most residential gate maintenance visits in Oakland run $150-280, depending on gate type, accessibility, and whether the visit includes diagnostic work on the operator. A basic preventive maintenance - lubrication, safety system test, adjustment, and documentation - typically falls at the lower end. If we find a failing component during the visit, you’ll get a written repair price before any additional work begins. Call (628) 270-2709 for an exact quote - estimates are free.
Homeowners can handle monthly visual inspections, lubrication, safety system tests, and baseline measurements. We encourage this - it catches problems early and gives us better information when you do call. Leave electrical modifications, welding, spring work, and anything involving the 120V supply to a licensed technician. We’ve seen too many control boards destroyed by well-meaning homeowners who bridged the wrong terminals.
Every 3 months if you’re within a mile of the estuary, every 6 months in the Oakland Hills or inland flatlands. The interval depends on salt load, heat exposure, and debris. More frequent light applications beat annual heavy greasing - excess lubricant attracts contaminants.
We work on nine major automation brands: LiftMaster, FAAC, BFT, Linear, Viking, Ghost Controls, DoorKing, Elite, and Mighty Mule. We don’t steer customers toward replacement with a brand we prefer - we repair what’s installed, document what we found, and give you a written price for the fix. If replacement ever makes sense, we explain why in the same documented format.
Temperature-related expansion is the most common cause in Oakland. Metal grows when heated; a gate that clears the post at 8 AM may bind at 3 PM after sun exposure. Photo-eyes can also be blinded by direct afternoon sun, especially on west-facing installations. Check your error log for thermal or obstruction codes timed to the failure window - the pattern usually reveals the mechanism.
Every visit produces a written scope, a written price agreed before work starts, and a photographed record of what was found, what was adjusted, and what was installed. You receive a copy; we file a duplicate in the job record. If a future technician needs to know what part number was used or what setting the limit switch was left at, the answer exists in dated, searchable form. This is the documentation habit Adrian Vance developed on commercial access-control sites starting in 2014, applied now to every residential gate we touch.
The Bottom Line
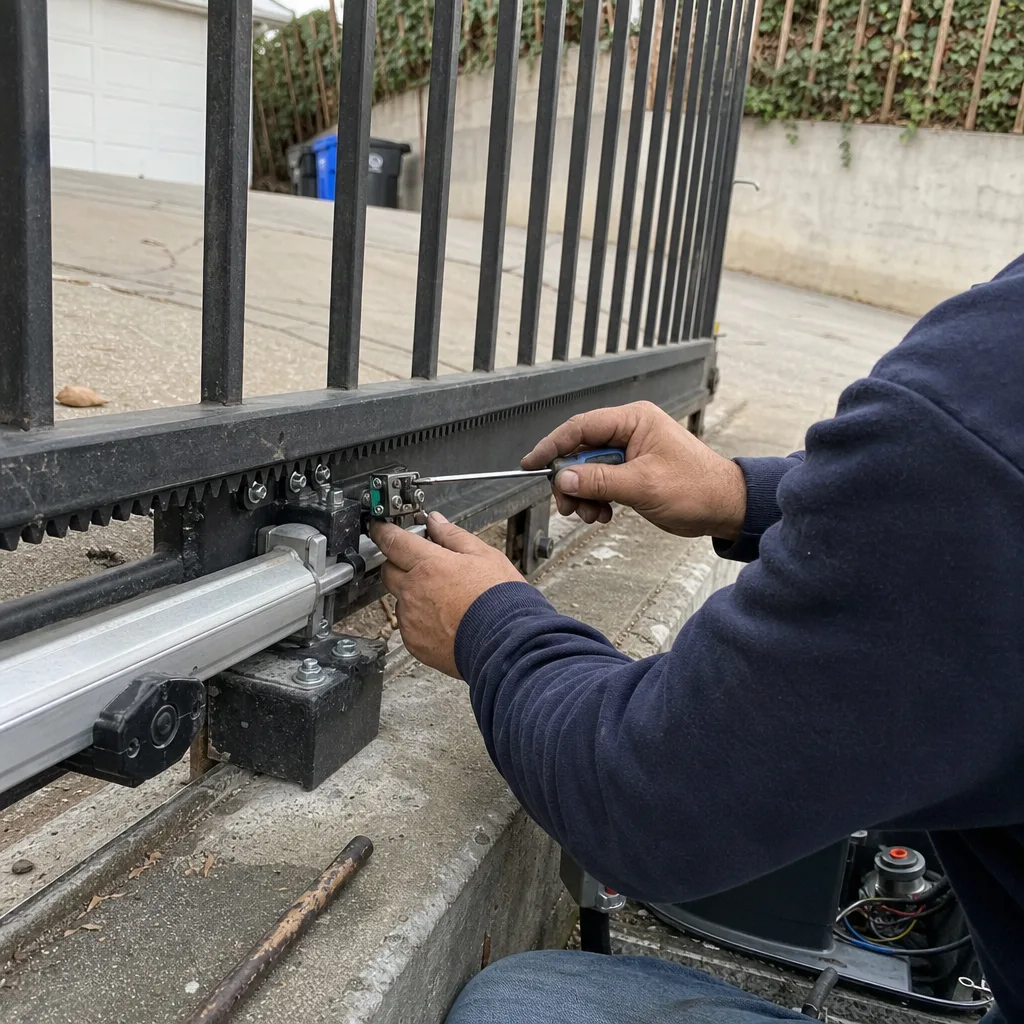
A gate maintenance checklist calibrated to Oakland’s actual conditions - salt air, hill heat, flatland wet - prevents the majority of emergency repairs we run. The habits that matter most are zone-appropriate lubrication intervals, monthly safety system tests, and a documentation practice that turns each visit into institutional memory. Record your baselines. Photograph your settings. Read your operator’s error log before calling. And when a problem exceeds your tools or training, call a technician who’ll give you the diagnosis in writing and the price before the work starts.
Written by Adrian Vance, Owner at Vance Gate Repair Oakland, serving Oakland since 2014.